
How to Design Amigurumi With Consistent Proportions
This guide helps you pick head-to-body ratios, measure parts, and use templates, grids, and gauges to keep your amigurumi consistently proportional. It shows how to design amigurumi with consistent proportions from the first stitch to the final seam.
Pick a head-to-body ratio for your amigurumi
Your chosen ratio signals your character’s personality at a glance. A bigger head reads cute and whimsical, while proportional realism feels more grounded. Consider what your character needs to express—playful, bold, shy, or curious—and let that guide you. A ratio also affects balance and pose: a larger head means a longer neck and shorter torso, while a smaller head yields a sturdier, elongated body. Plan ear, eye, and limb placement early so you stitch with direction in mind.
Choosing a ratio isn’t just about looks; it changes the entire crochet approach. Map it out first to stitch faster later without second-guessing turns. For a small project, start with one ratio, then try a second on a follow-up piece to feel the contrast. You’ll see how the same pattern reads totally differently with a new head-to-body balance, building your confidence with each piece.
Standard head-to-body ratio amigurumi
Starting with a standard ratio gives you a reliable baseline. A head about half to two-thirds the height of the body keeps the figure cute and pose-friendly. Mark measurements as you crochet and compare head diameter to the torso to quickly spot top-heaviness or balance. With a standard ratio, eyes, ears, and limbs land in familiar spots, making replication easier and giving you room to tweak neck length or shoulder width to alter mood.
How ratios change your style
Your ratio choice shifts style more than you might expect. A bigger head yields large eyes and a big smile, signaling charm and approachability. A smaller head makes features sharper and the body leaner, reading as a modern toy or stylized character. Adjusting neck length and shoulder width nudges the overall mood. Proportions also influence posing: head-heavy builds tilt forward, suggesting curiosity, while longer torsos give a grounded, relaxed stance. Mix and match ratios with features to create a signature look—pair a large head with tiny limbs for a chibi vibe, or balance a head with longer legs for a poster-ready toy.
Quick ratio chart
- Standard: head about 1/2 to 2/3 of total height; balanced and friendly.
- Big head: head larger than standard for extra cuteness and expressive eyes.
- Small head: head smaller, elongating the figure for a sleek feel.
Measure parts for consistent amigurumi sizing
To achieve a cohesive look, keep every part scaled to your chosen proportions. Measure each piece and keep a steady unit to avoid mixing numbers later. Treat your amigurumi like a tiny sculpture: small mismatches add up, so precise measurements set a solid foundation for consistency from head to toe. Write down your standard unit (inches or centimeters) and check measurements often to avoid drift.
Measuring amigurumi parts
Pick a reference size for the most important part (usually the head or torso). Use a flexible tape measure or soft ruler to measure from base to top, noting curvature that affects length. For ears, tails, or limbs, measure full length and any curve that will sit against the body. Record measurements right after finishing a piece for clean data you can reuse.
Keep method consistent: measure along the longest straight path when possible, and measure curved parts in their natural shape. Note both current and target sizes in your notes so you can compare and fine-tune later.
Test-fit parts on a stand to confirm proportions read correctly. If arms are too long or the head too small, use that as a calibration point for the next try.
Record stitch and row counts
Stitch and row counts act as your road map. Track exact counts for each part and the number of rows tall. This makes recreating a character or tweaking a design straightforward. Note any changes you made and the points where you switch stitch types, add shaping, or maintain balance. Clear records let you reproduce the look with new yarn or colors and simplify pattern sharing.
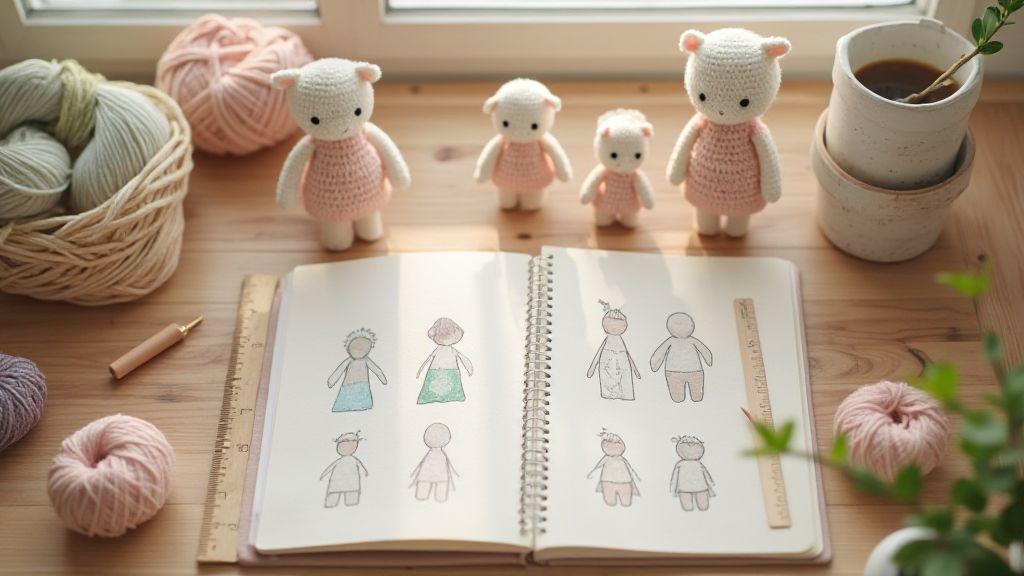
Printable measurement template
A printable measurement template is your quick-start cheat sheet. Include fields for part name, target size, actual size, stitch count, row count, yarn type, and tension notes. Keep a simple sheet in your project folder and fill it out as you go. Attach a swatch photo or color key to remember yarn and hook choices. This one-page template helps maintain consistency across projects and makes collaboration easier.
Use amigurumi proportion templates and grids
Amigurumi proportion templates and grids give you a map for where limbs, heads, and bodies land. Templates help you see if the creature reads as cute or off-balance, while grids prevent wobble from guessing. Grids act as a compass, keeping everything in the right place so the finished piece reads as intentional and charming. With templates, you’re choosing scale, not guessing it.
As you grow comfortable, use templates as a creative baseline. Slightly tweak proportions for expressive styles, but keep the grid to maintain cohesion across a whole set. A recognizable silhouette across characters helps your audience connect with your work.
Trace and scale with a grid
Tracing over a grid is your fast path to accuracy. Place base shapes on the grid, copy and scale to fit new characters, and confirm each feature before you cut yarn. To scale without losing shape, enlarge every part proportionally so head-to-body, arm length, and leg width stay consistent. If you scale one piece, scale the others the same way to preserve recognizability across sizes.
Using a grid reduces mistakes and speeds up decisions. If something seems off, you can pinpoint coordinates to fix before sewing, keeping your process calm and steady. Remember: proportion, not perfection—aim for natural-feeling balance.
Convert templates to pattern pieces
Turning templates into pattern pieces creates a repeatable workflow. Translate template shapes into yarn or fabric pieces, marking seam allowances and join points. Document each piece with clear labels (e.g., head front, head back, arm left) to avoid mix-ups during assembly. The result is a clean, professional look that still feels handmade and warm.
Template file types
Choose a reusable template type: simple drawing templates for initial proportions, vector templates for crisp lines at any size, or raster templates with adjustable layers for quick tweaks. Organize and label templates clearly so you can pull them up later and compare to your finished piece. The goal is consistency and speed: lock in exact proportions and reuse templates across patterns.
Scale patterns with pattern grading
Pattern grading lets you adjust size without changing the design. Scale while preserving proportions by balancing increases, decreases, and part lengths. Start with a base gauge and map how each part grows or shrinks. Keep core proportions, like a dominant head, in mind as you scale. Plan stuffing needs as you increase size to avoid flattening features. Use a simple rule of thumb: adjust all parts by the same proportional factor, then fine-tune by eye.
Steps to scaling amigurumi patterns
- Choose a target size and compute a scale factor (target size ÷ original size).
- Apply the factor to stitches per round, rows, and body lengths.
- Rework head, body, and limbs in the same order; compare overall silhouette to the goal.
- Test with a quick sample to check tension and shape, then finalize with exact counts.
Keep shaping and amigurumi body ratios
Maintain a consistent head-to-body ratio across sizes to keep your character recognizable. Preserve core ratios: head height versus torso length, limb thickness, and hand/foot size relative to arms. A common baseline is head about one-third to one-half of total height, adjustable as you scale. Consider stuffing behavior: bigger dolls need more stuffing, but too much can stiffen the silhouette. Test with different fills and densities to balance shape and proportion.
Control gauge and yarn for consistent sizing
Gauge and yarn choice set the scale from start to finish. Pick a yarn and hook that match the pattern’s expectations to keep your final piece true to size. If gauge runs off, adjust by changing yarn or hook size to match target. Gauge is your project’s size promise: steady gauge prevents surprises in silhouette and balance, helping you design amigurumi with consistent proportions.
How gauge affects final size
Gauge dictates how large each part will be. Larger stitches mean a bigger piece, smaller stitches shrink it. Gauge consistency helps predict final size and plan adjustments early. Track your swatch against the pattern’s target to stay aligned.
Choose yarn and hook for your goal
Choose materials with the right balance of structure and softness for your design goal. Crisp, defined features benefit from firmer yarns and tighter stitches; plush, cuddly results come from softer yarns and slightly looser tension. Match yarn weight to the pattern, but adjust if your swatch diverges from the target. This helps you achieve predictable sizing while preserving character and proportion.
Swatch and gauge log
Swatching confirms consistency. Crochet a small sample with planned yarn and hook, then compare stitch and row counts to the pattern gauge. Keep a gauge log: yarn type, weight, hook size, and achieved gauge. Re-test if you change materials, then update the log. This habit saves time and ensures repeatable results across projects.
Count stitches and rounds to lock proportions
Maintain shape by counting stitches and rounds as you switch parts. Jot exact counts per round and total rounds per section to compare against your plan. If you detect drift, fix it early. Use a ruler or pattern notes to stay on track. Counting helps you learn your tension and adjust technique, hook size, or yarn choice to keep proportions steady.
Track increases and decreases
Log every increase and decrease to reproduce shapes reliably. Record round numbers, increase/decrease type, and how many stitches changed. Color-coded markers or a notebook help you keep track, so you can reproduce characters with the same feel each time.
Use markers for symmetry and balance
Place markers at key points to verify symmetry. Markers help you spot subtle imbalances quickly and guide shaping (ears, limbs, tails). Start simple with plastic rings or yarn tails and upgrade as patterns grow more complex. Markers keep your design balanced from every angle, making the final piece steadier and more professional.
Test prototypes to maintain size consistency amigurumi
Prototyping is your proof that your proportions stay true across sizes and materials. Start with a mini prototype to test size baseline before committing to full colorwork. Compare a small version across different yarns to see how density changes the silhouette, and adjust the pattern so the final amigurumi keeps its intended proportions.
- Make a mini prototype to test the core shape and proportion.
- Use it to compare the effect of different yarns on density and silhouette.
- Refine the pattern so the final design remains faithful to the baseline proportion, no matter the yarn.
Applying How to Design Amigurumi With Consistent Proportions
Anchor your design to repeatable rules, starting with a standard head-to-body ratio you reuse across characters. Note exact stitch counts for each part and keep a simple ratio system (for example: head = 1 unit, torso = 1.5 units, limbs = 0.75 units) to guide scaling. This approach helps you reproduce the look across new characters and outfits.
Prototype checklist
- Check head-to-body ratio against your standard scale.
- Verify limb lengths stay proportional across yarn choices.
- Test neck joins for strength and seamless look.
- Compare silhouette in both tight and loose stuffing.
- Confirm overall balance when the toy sits or stands.
Use digital tools to refine your amigurumi design proportions
Digital tools let you see measurements come to life. Digitize your basic shapes, tweak scale, and compare parts until the body reads balanced. Keep a versioned library of designs (Version A, Version B, etc.) so you can switch back or compare looks easily. Digital workflow provides a safe sandbox to experiment with proportions without wasting materials.
- Keep a clear record of each version to reproduce and compare changes.
- Use symmetry tools to keep left and right sides equal.
- Let software flag skewed angles that could throw off the look.
Pattern notes and version control
Maintain neat notes for every design change: exact measurements, yarn type, hook size, and stitch counts. Label versions clearly (e.g., Version 3: Longer arms, shorter torso) so you can revert or share easily. A simple versioning routine keeps your progress organized and your designs consistent.
Software for scaling and measuring amigurumi proportions
Choose software that supports precise scaling and measurement. Look for grid rulers, proportional rulers, and layer-based editing. Some programs include built-in proportion templates for common amigurumi shapes. Use them as a baseline and customize to your style. Consistency is the goal: same units, same measurement logic, same reference points for every project.
Exportable pattern notes
When you’re ready to publish, export pattern notes in a clean format. Include final measurements, stitch counts, and a concise justification of why proportions work for your character. Add yarn types and hook sizes so others can follow with confidence. An accessible export saves readers time and makes your design choices clear.
Putting it into practice: How to Design Amigurumi With Consistent Proportions
To consistently design amigurumi, anchor your work to repeatable rules, verify proportions with templates and grids, and test prototypes early. Document measurements and keep a running gauge log. By combining careful measuring, precise counting, and thoughtful stuffing, you’ll create amigurumi with consistent proportions across sizes and projects. This approach turns your craft into a reliable design practice—one that looks intentional, cohesive, and irresistibly collectible.

Clara Fern — Crochet Artist & Amigurumi Designer
Clara Fern is a crochet artist and amigurumi designer based in Austin, Texas. With 9 years of experience working with yarn and hook, she transformed a lifelong passion for handcraft into a creative mission: making amigurumi accessible, fun, and deeply rewarding for crafters of all levels.
Clara discovered amigurumi during a trip to Japan in 2017, where she fell in love with the art of bringing tiny characters to life through crochet. Back home in Texas, she spent years studying color theory, design principles, and advanced crochet techniques — developing her own signature style that blends kawaii aesthetics with original character design.
Through maclafersa.com, Clara shares everything she has learned — from choosing the right yarn and reading your first pattern, to designing fully original amigurumi characters from scratch. Her writing is known for being clear, detailed, and genuinely helpful, with no steps skipped and no secrets kept.
When she’s not crocheting, Clara enjoys watercolor painting, visiting local yarn shops, and drinking way too much coffee while sketching new character ideas.


