No-Sew Amigurumi Techniques Every Crocheter Should Know
For many crocheters, making the individual pieces of an amigurumi is the enjoyable part. The frustration often begins when all those pieces need to be assembled.
Arms need to be positioned evenly, legs need to match, ears can easily end up crooked, and sewing a head onto a body without creating a visible seam requires patience and practice. Even experienced amigurumi makers sometimes spend almost as much time assembling a character as they do crocheting it.
That’s why no-sew amigurumi has become so popular.
Instead of crocheting every component separately and attaching everything with a yarn needle, no-sew techniques incorporate limbs, ears, tails, and other features directly into the crochet construction.
The result can be faster, cleaner, stronger, and easier to reproduce consistently.
No-sew doesn’t necessarily mean that a yarn needle will never touch your project. You may still use one to weave in ends or embroider facial details. Rather, the goal is to eliminate as much structural sewing as possible.
In this guide, we’ll explore the most useful no-sew amigurumi techniques and how you can incorporate them into your own projects.
What Is No-Sew Amigurumi?
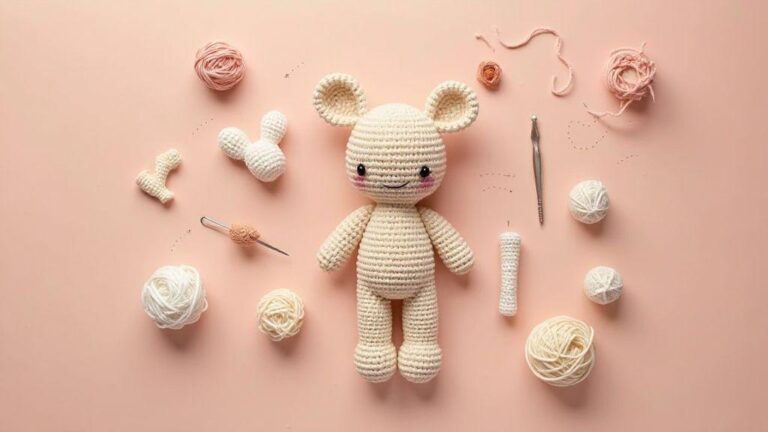
Traditional amigurumi patterns often divide a character into multiple separate pieces.
You might crochet:
- the head
- body
- two arms
- two legs
- two ears
- tail
- muzzle
- additional accessories
Each piece is finished separately, leaving long yarn tails that are later used for assembly.
A no-sew pattern approaches construction differently.
Instead of asking, “How do I attach this piece later?” the designer asks, “How can I incorporate this piece while I’m still crocheting the main body?”
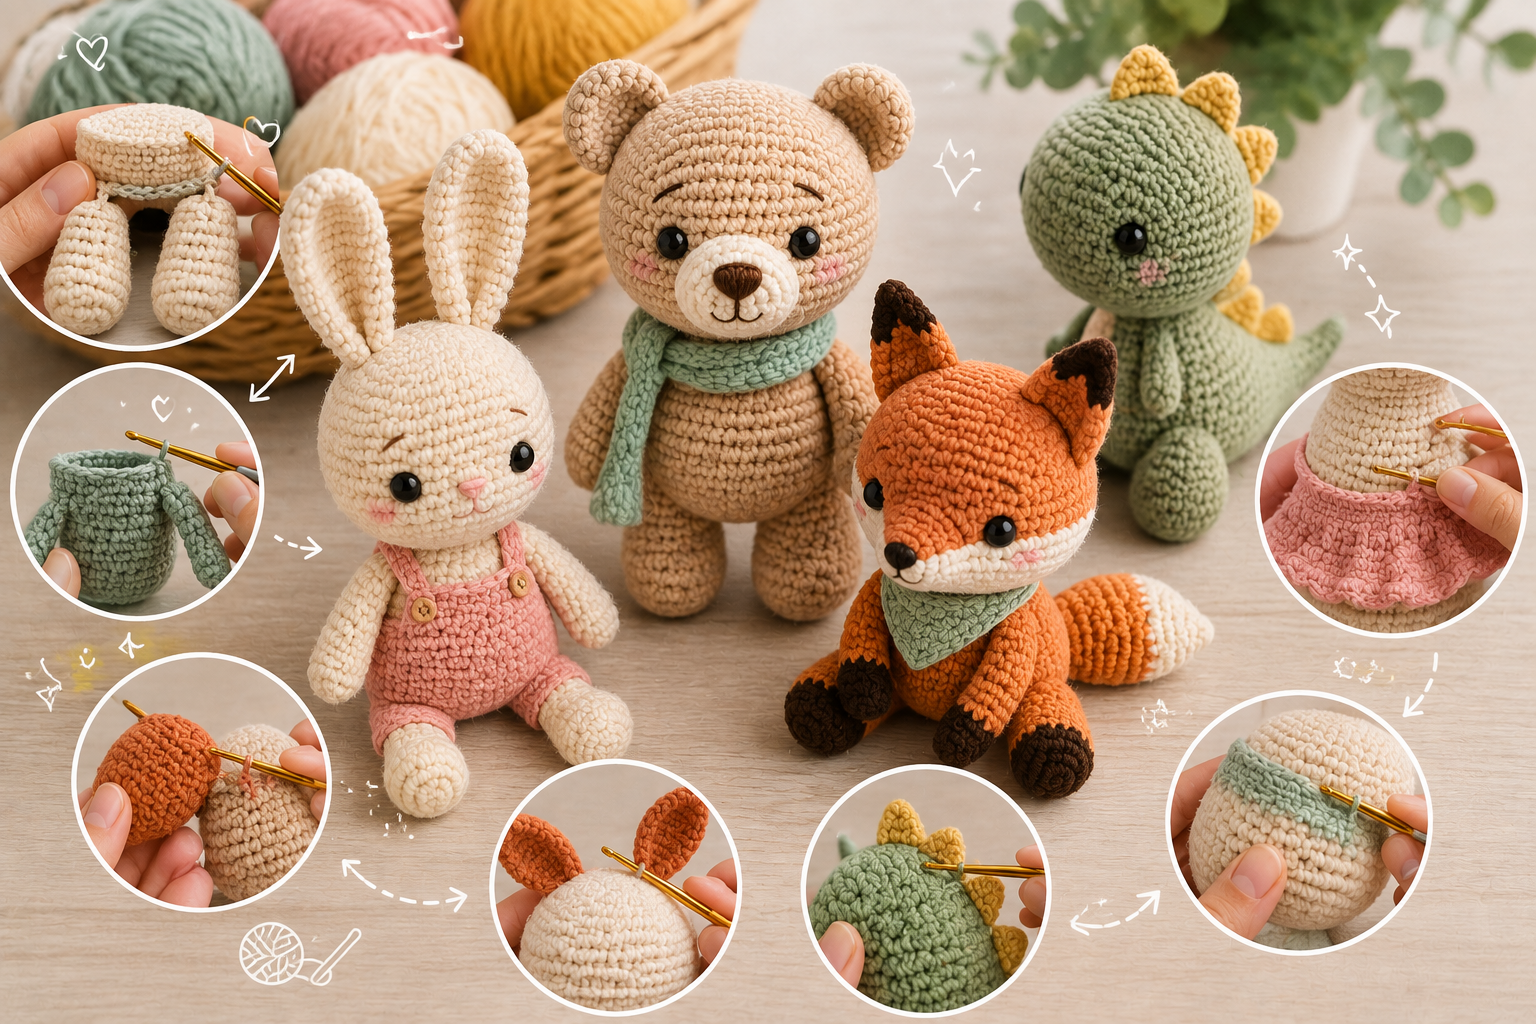
For example, an arm can be crocheted separately and then attached directly into a body round using single crochet stitches.
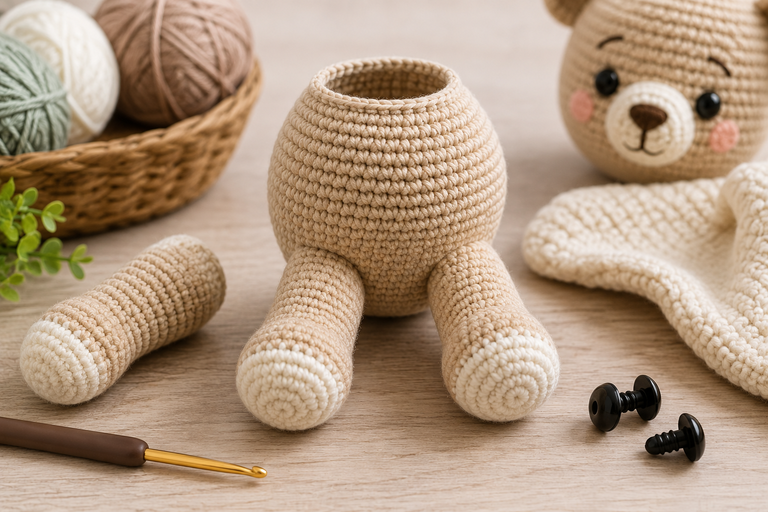
Legs can be joined together before the body begins.
Ears can sometimes be crocheted directly onto the head.
A head and body can even be created as one continuous piece.
These small construction changes can eliminate most of the final assembly.
1. Crochet the Head and Body as One Piece
One of the easiest ways to reduce sewing is to eliminate the seam between the head and body.
Instead of finishing the body, fastening off, crocheting a separate head, and sewing the two pieces together, simply continue crocheting.
For a bottom-up character, you might begin with the legs and body, narrow the piece to create the neck, and then begin increasing again to form the head.
The structure could follow this general progression:
Body → decreases → neck → increases → head → decreases → close
This technique has several advantages.
First, the head is automatically centered on the body.
Second, there’s no visible neck seam.
Third, the connection is extremely strong because the head and torso are literally part of the same crochet fabric.
This construction works particularly well for dolls, bears, bunnies, and other characters with relatively simple neck transitions.
2. Join the Legs Before Crocheting the Body
Legs are another excellent opportunity for no-sew construction.
Rather than finishing two legs and sewing them onto the body afterward, crochet both legs first and connect them before beginning the torso.
A common method works like this:
Crochet the first leg and fasten off.
Crochet the second leg, but don’t fasten off.
From the second leg, make a short chain and connect it to the first leg.
Continue crocheting around both legs and across the connecting chain.
The two legs now form one continuous round.
From this point, you can continue upward to create the body.
This technique is extremely popular because it automatically establishes the position of both legs and creates a strong connection.
The length of the connecting chain also gives you control over the space between the legs.
A short chain creates legs positioned close together, while a longer chain creates a wider stance.
3. Crochet Arms Into the Body
Arms don’t always need to be sewn onto the shoulders.
One of the most useful no-sew techniques is crocheting finished arms directly into a body round.
First, crochet each arm separately.
Depending on the pattern, you may stuff the arm lightly or leave it unstuffed.
Flatten the opening of the arm so the front and back stitches sit together.
When you reach the correct position while crocheting the body, place the arm against the torso.
Insert your hook through both layers of the arm and through the corresponding stitch on the body.
Complete a single crochet.
Repeat across several stitches until the arm is secured.
Then continue crocheting around the body normally.
The arm becomes incorporated directly into the structure of the torso.
This method creates a clean attachment and eliminates the challenge of trying to sew two arms at exactly the same height.
4. Attach Ears While Crocheting the Head
Ears can be handled similarly.
Crochet the ears first and set them aside.
As you work the head, determine where each ear should be positioned.
When you reach that section of the round, hold the ear against the head and crochet through both the ear and head stitches simultaneously.
Continue the round normally once the ear is attached.
This technique works especially well for relatively flat ears.
Bear ears, cat ears, bunny ears, and some animal ears can often be incorporated this way.
However, placement needs to be planned carefully.
Unlike sewn ears, which can be repositioned several times before being permanently secured, crocheted-in ears become fixed as soon as the round is completed.
Stitch markers can be extremely helpful for testing the intended placement before attachment.
5. Crochet Tails Directly Onto the Body
Small tails are another component that can often be made without sewing.
For short tails, you may be able to attach yarn directly to the finished body and crochet outward from the surface.
For example, a simple chain followed by slip stitches or single crochet stitches can create a narrow tail.
Another option is to create the tail separately and crochet it into the body round using the same method used for arms.
Which technique works best depends on the shape.
A long, complex, heavily stuffed tail may still benefit from separate construction, while a small or flat tail can often be integrated easily.
6. Use Bobble Stitches for Tiny Limbs
Not every arm or leg needs to be a separate crochet tube.
For very small amigurumi, bobble stitches can create miniature limbs directly within the body.
A bobble adds a concentrated cluster of stitches that projects outward from the fabric.
Strategically positioned bobbles can represent:
- paws
- feet
- hands
- tiny arms
- cheeks
- noses
This technique is especially effective for miniature animals.
Instead of creating four tiny limbs and struggling to sew them symmetrically, you can build the shapes directly into specific body rounds.
The result is extremely secure and requires almost no assembly.
7. Create Ears With Stitch Shaping
Some tiny ears don’t need to be separate pieces at all.
You can create them directly from the head using combinations of stitches.
For example, a small pointed ear might be created by working several taller stitches into a single location.
Depending on the design, combinations of single crochet, half double crochet, double crochet, chains, and slip stitches can create small projections from the surface.
This approach is particularly useful for miniature amigurumi where separately crocheted ears would be disproportionately bulky.
8. Use Surface Crochet for Details
Surface crochet is another valuable technique for reducing separate pieces.
Instead of crocheting a decorative element and sewing it onto the finished amigurumi, you work stitches directly onto the surface.
Insert the hook through the crochet fabric, attach yarn, and pull loops through the surface to create new stitches.
Surface crochet can be used for:
- hairlines
- decorative borders
- clothing details
- stripes
- facial accents
- small raised features
Because the stitches are anchored directly to the existing fabric, no additional sewing is necessary.
9. Crochet Clothing Directly Onto the Character
Clothing can create a surprising amount of extra sewing if every garment is made separately.
An alternative is to crochet clothing directly into the character.
For example, when crocheting a doll’s body, change yarn color at the waist and continue crocheting to create the appearance of pants or a shirt.
For a skirt, work one round in the back loops only.
Later, attach the clothing yarn to the unused front loops and crochet the skirt outward from the body.
The skirt becomes permanently integrated into the doll.
The same principle can create:
- dresses
- shirt collars
- sleeves
- cuffs
- shorts
- shoes
- socks
This method is particularly effective when removable clothing isn’t necessary.
10. Use Front and Back Loops Strategically
Working in only one loop can create anchor points for later no-sew construction.
Suppose you work one round in the back loops only.
The unused front loops remain visible around the surface.
You can later attach yarn to those loops and crochet another structure directly onto the piece.
This technique is useful for creating:
- skirts
- ruffles
- collars
- hair
- shells
- decorative edges
- animal features
Instead of sewing an additional piece onto the body, you’re using the original crochet structure as an attachment point.
11. Make Muzzles as Part of the Head
Muzzles are commonly crocheted separately and sewn onto animal faces.
However, certain designs can incorporate muzzle shaping directly into the head.
Strategic increases can create additional volume toward the front of the face.
You can also use bobble or cluster techniques to create a small protruding muzzle.
This approach requires more advanced shaping, but the result can be exceptionally clean.
There’s no seam around the muzzle, and the facial structure feels like one continuous shape.
For simpler designs, embroidery can also suggest a muzzle without requiring another crochet component.
12. Use Color Changes Instead of Separate Patches
Imagine you’re designing a panda, cow, fox, or another animal with distinctive markings.
One approach would be to crochet colored patches separately and sew them onto the body.
But color changes can often create those markings directly within the main crochet fabric.
This eliminates additional pieces and reduces bulk.
Planned color changes can create:
- eye patches
- belly markings
- facial markings
- paws
- socks
- clothing
- stripes
This technique can require careful counting, but it creates a smooth surface without appliqué seams.
13. Close Pieces Without a Bulky Seam
Even no-sew amigurumi eventually needs to be closed.
Fortunately, closing a piece doesn’t require a large visible seam.
After completing the final decrease round, cut the yarn while leaving a manageable tail.
Thread the tail through the remaining front loops using a yarn needle.
Pull gently.
The opening closes like a drawstring.
Secure the yarn and hide the tail inside the piece.
While this technically uses a needle, it isn’t structural assembly and produces a much cleaner finish than trying to sew the opening together edge by edge.
14. Plan Placement Before You Crochet
No-sew techniques reduce assembly, but they require more planning.
If you’re sewing an arm onto a finished body, you can move it around until you find the perfect position.
If you’re crocheting that arm directly into Round 18, you need to know exactly where it belongs before completing the round.
This is why stitch markers are essential.
Before attaching a component, mark:
- center front
- center back
- left side
- right side
- intended limb positions
Then count the stitches between those points.
Symmetry becomes much easier when you’re working from exact stitch counts rather than visual guesses.
15. Flatten Pieces Before Crocheting Them In
Many no-sew attachments work best when the opening of the component is flattened.
Imagine a small arm with 10 stitches around its final round.
Flattening the opening brings five front stitches and five back stitches together.
You can then crochet through both layers while simultaneously attaching the arm to the body.
This closes and attaches the limb at the same time.
It’s one of the most efficient techniques in no-sew amigurumi.
It works especially well for arms, ears, wings, and certain tails.
16. Don’t Overstuff Attached Limbs
When limbs are crocheted directly into the body, stuffing becomes particularly important.
An overstuffed arm can become difficult to flatten and attach.
It may also stick straight outward instead of hanging naturally.
For many small arms, stuffing the lower portion while leaving the top relatively soft creates a better result.
This allows the attachment area to flatten naturally against the body.
The same principle can apply to legs, tails, and ears depending on the design.
17. Know When Sewing Is Still the Better Choice
No-sew construction is useful, but it isn’t automatically superior for every project.
Some designs benefit from separate components.
A highly sculpted muzzle may need to be positioned carefully after the head is stuffed.
Complex ears might need a specific angle that’s easier to achieve through sewing.
Large limbs may require strong, carefully distributed attachment stitches.
Removable or movable components may need entirely different construction methods.
The goal shouldn’t be to eliminate sewing at any cost.
Instead, use no-sew techniques when they make the project simpler, cleaner, or stronger.
Advantages of No-Sew Amigurumi
Once you become comfortable with integrated construction, the benefits are significant.
Faster finishing
You spend less time assembling multiple pieces after crocheting.
Better symmetry
Limbs can be attached according to exact stitch counts rather than visual estimation.
Strong attachments
Crocheted-in components become structurally connected to the main fabric.
Cleaner appearance
Fewer seams can create a smoother, more professional-looking result.
Easier repetition
If you’re making several copies of the same design, precise integrated attachment points make it easier to achieve consistent results.
This can be particularly valuable for makers who sell finished amigurumi.
Common No-Sew Amigurumi Mistakes
One of the most common mistakes is attaching a component before confirming its orientation.
Before crocheting an arm, ear, or tail into the body, stop and examine the entire character.
Make sure the front of the piece is actually facing forward.
Another frequent mistake is incorrect stitch placement.
Being off by only one or two stitches can make paired limbs noticeably asymmetrical.
Overstuffing is another issue, especially around attachment points.
Finally, don’t forget that integrated construction changes the order in which components must be made.
If the arms are supposed to be crocheted into the body, they need to be finished before you reach that body round.
Reading the entire pattern before beginning becomes particularly important with no-sew projects.
How to Convert a Traditional Pattern Into a No-Sew Pattern
Once you’re familiar with these techniques, you can begin adapting some traditional amigurumi construction.
Look at each separately sewn component and ask whether it could instead be:
- crocheted directly into a round
- incorporated using unused loops
- represented by a bobble
- created through surface crochet
- shaped directly into the main piece
- replaced with color changes
- integrated into continuous construction
Start with simple modifications.
Joining the legs before crocheting the body is usually easier than redesigning an entire head to include a built-in muzzle.
Likewise, crocheting arms into the torso is an excellent first step toward integrated construction.
As your understanding of three-dimensional crochet improves, you’ll naturally begin seeing more opportunities to eliminate unnecessary seams.
Final Thoughts
No-sew amigurumi isn’t simply about avoiding a yarn needle. It’s a different approach to construction.
Instead of creating a collection of individual pieces and figuring out how to assemble them afterward, you plan how those pieces can become part of the crochet structure itself.
Joining legs before beginning the body, crocheting arms and ears directly into rounds, using bobble stitches for tiny limbs, creating details with surface crochet, working clothing into unused loops, and using strategic color changes can dramatically reduce the amount of finishing required.
For beginners, start with one or two techniques rather than trying to create an entirely seamless character immediately.
Try joining two legs and continuing into the body. On your next project, crochet the arms directly into the torso. Then experiment with built-in ears, tails, clothing, or facial features.
Eventually, you’ll begin thinking about assembly before you even pick up your hook.
And that’s one of the biggest advantages of learning no-sew amigurumi techniques: they don’t just make finishing faster — they can change the way you design your characters from the very first stitch.
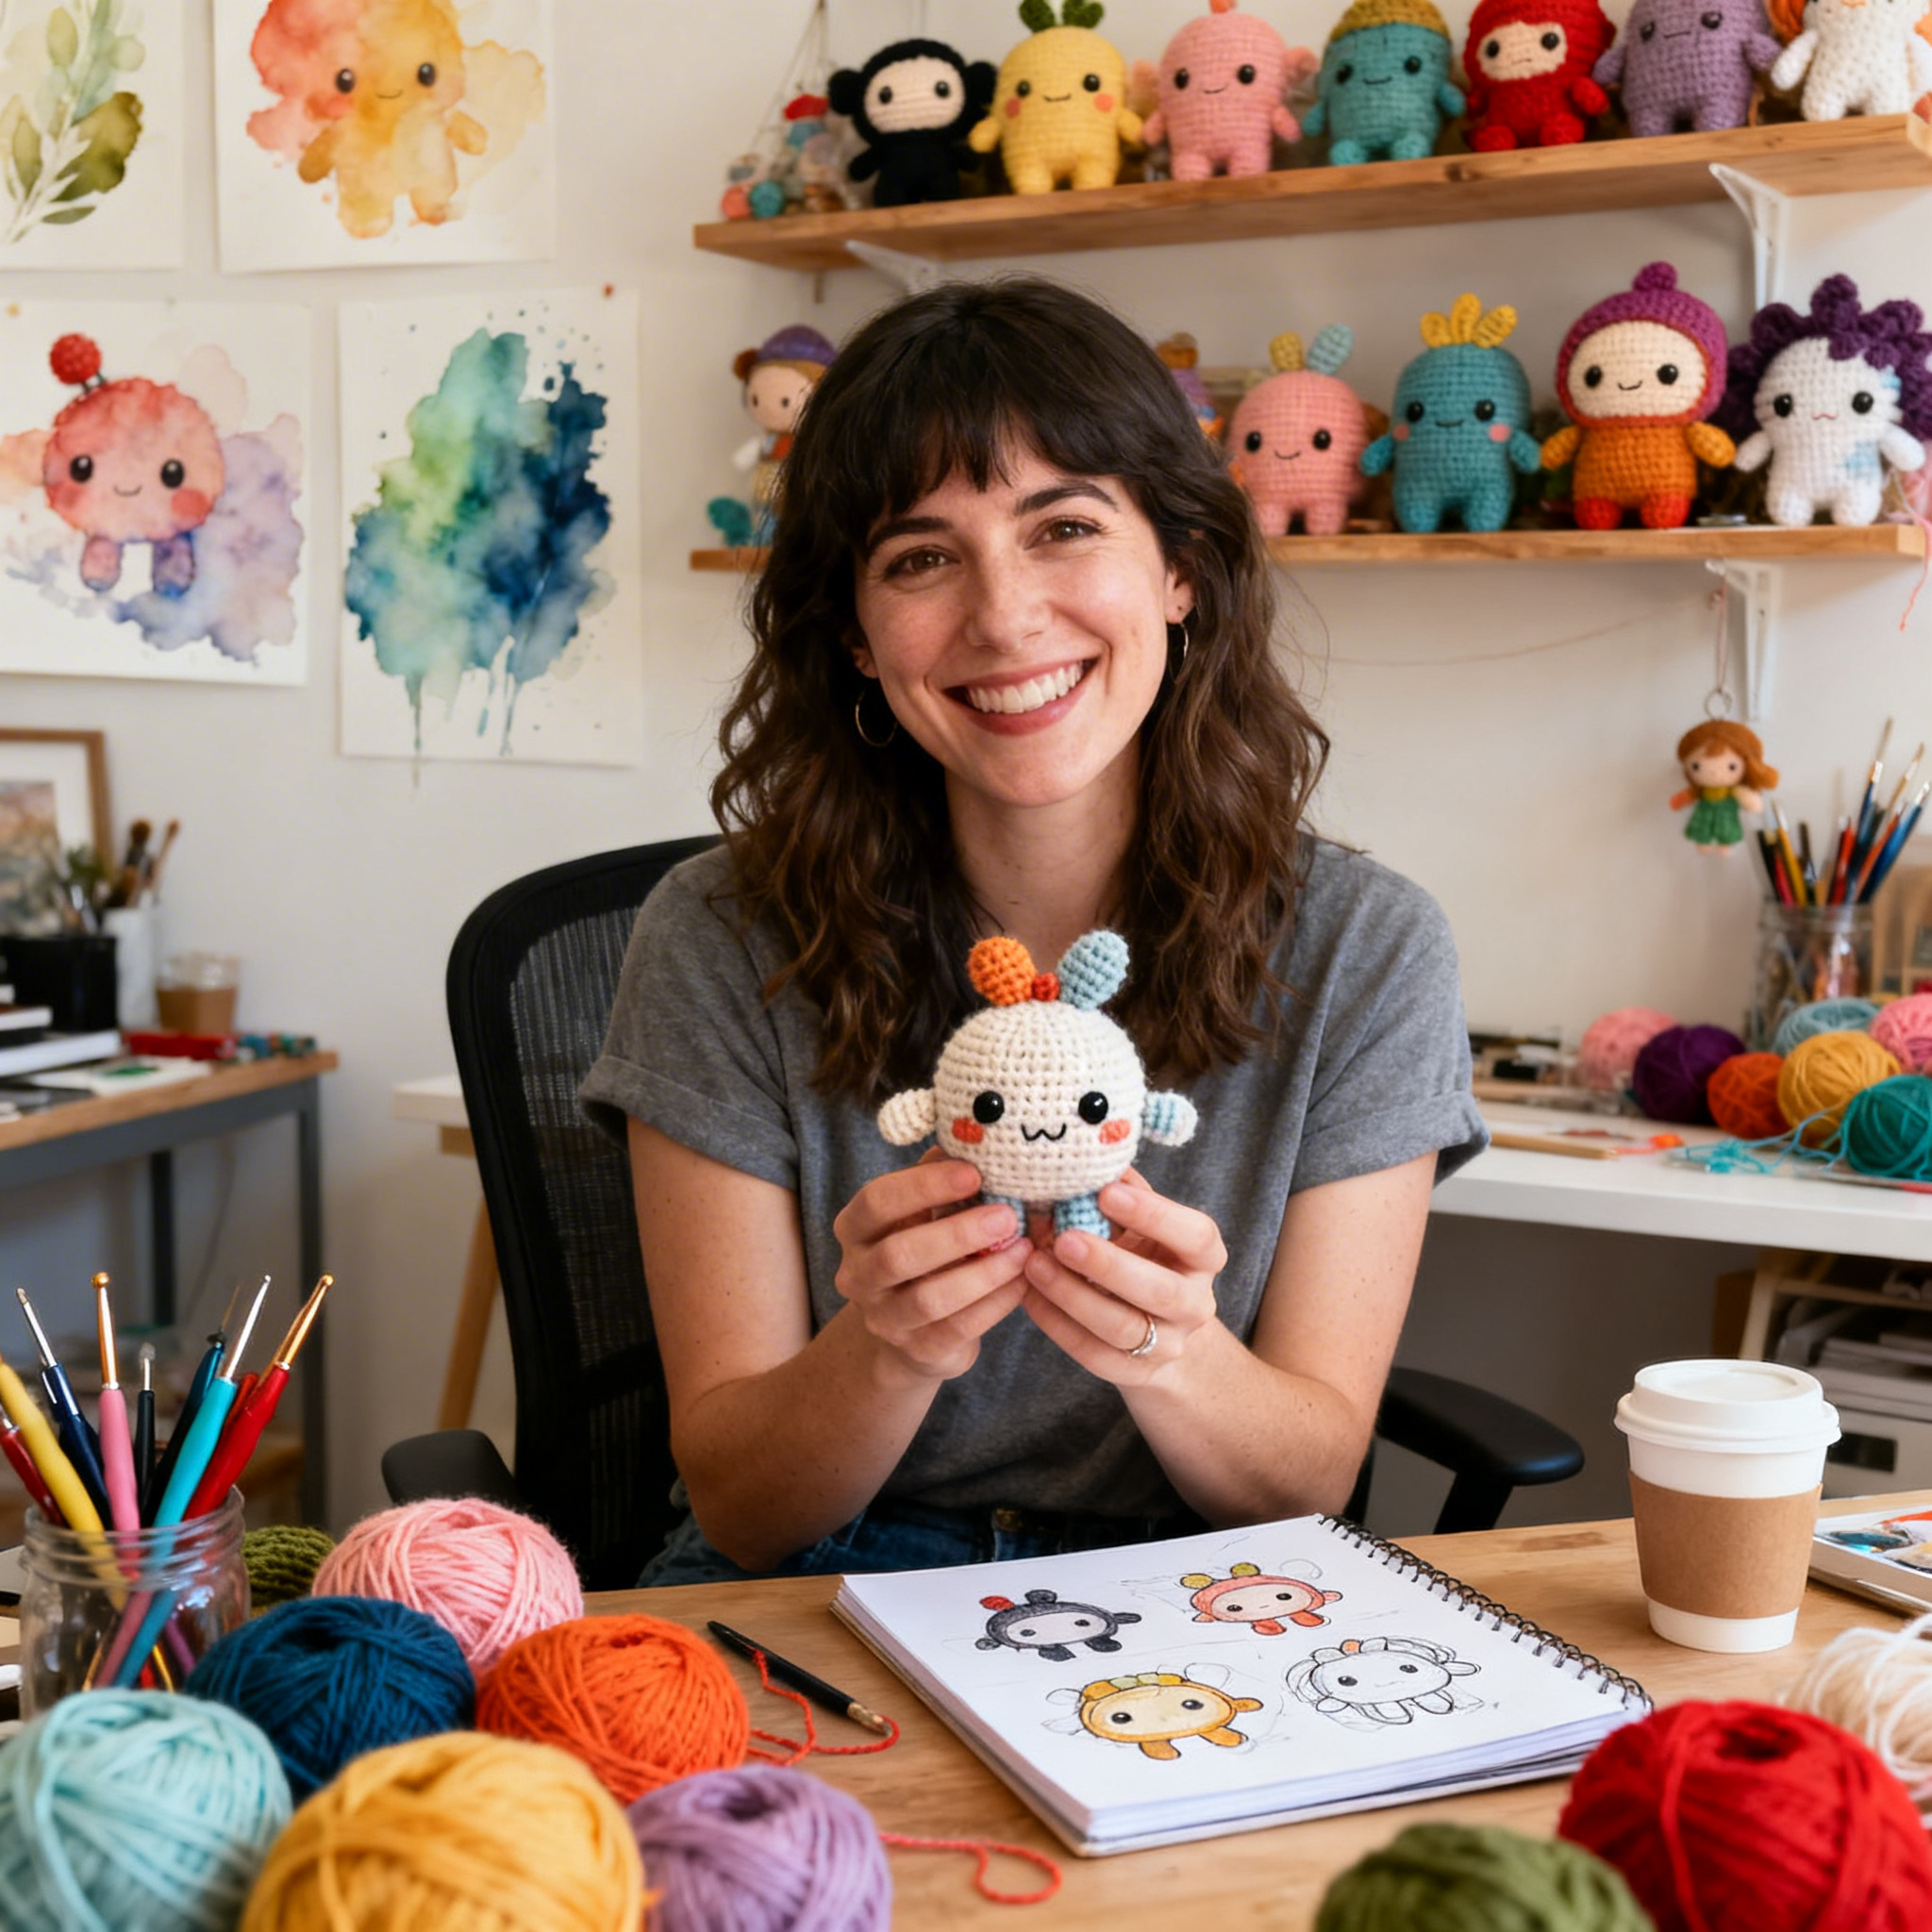
Clara Fern — Crochet Artist & Amigurumi Designer
Clara Fern is a crochet artist and amigurumi designer based in Austin, Texas. With 9 years of experience working with yarn and hook, she transformed a lifelong passion for handcraft into a creative mission: making amigurumi accessible, fun, and deeply rewarding for crafters of all levels.
Clara discovered amigurumi during a trip to Japan in 2017, where she fell in love with the art of bringing tiny characters to life through crochet. Back home in Texas, she spent years studying color theory, design principles, and advanced crochet techniques — developing her own signature style that blends kawaii aesthetics with original character design.
Through maclafersa.com, Clara shares everything she has learned — from choosing the right yarn and reading your first pattern, to designing fully original amigurumi characters from scratch. Her writing is known for being clear, detailed, and genuinely helpful, with no steps skipped and no secrets kept.
When she’s not crocheting, Clara enjoys watercolor painting, visiting local yarn shops, and drinking way too much coffee while sketching new character ideas.