How to Join Amigurumi Legs Without Sewing
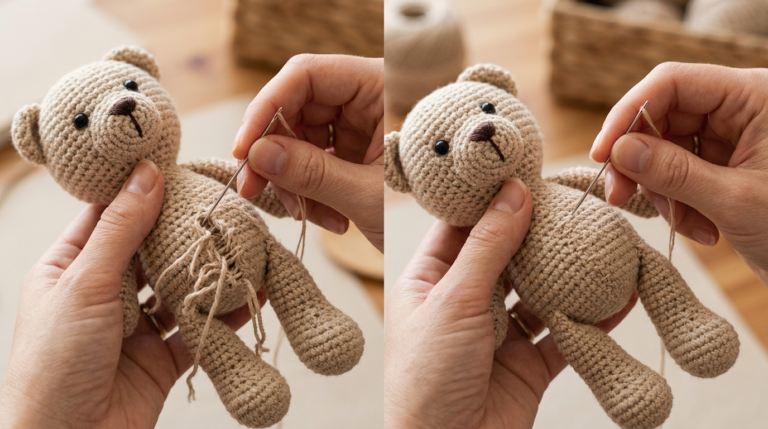
Sewing pieces together is often considered one of the more tedious and finicky parts of finishing an amigurumi project. Getting legs to sit evenly, symmetrically, and securely attached to the body using a needle and thread can be frustrating, especially for beginners who haven’t yet developed a feel for hidden stitching techniques. The good news is that there are several proven methods for joining amigurumi legs to a body without traditional sewing at all — techniques that rely on crochet construction itself, or on specialized joining hardware, to create a seamless, durable connection.
In this article, we’ll explore the most popular sewing-free methods for attaching amigurumi legs, along with the pros, cons, and best use cases for each.
Why Avoid Sewing Legs On?
Before diving into the alternatives, it’s worth understanding why so many crocheters look for ways to skip the sewing step. Traditional sewing requires threading a yarn needle, carefully whip-stitching around the entire opening of the leg while matching it up to the body, and maintaining even tension throughout so the leg doesn’t end up crooked or loose. This process can take a long time, and if the tension isn’t consistent, the leg can end up wobbly, gapped, or misaligned compared to its partner.
Sewing-free techniques, by contrast, often build the connection directly into the crochet structure, which tends to produce a more secure, symmetrical result with less finishing work — and for many crocheters, they’re simply faster and more enjoyable than sitting down with a needle and thread at the end of a project.
Method 1: Crochet Legs Directly Onto the Body
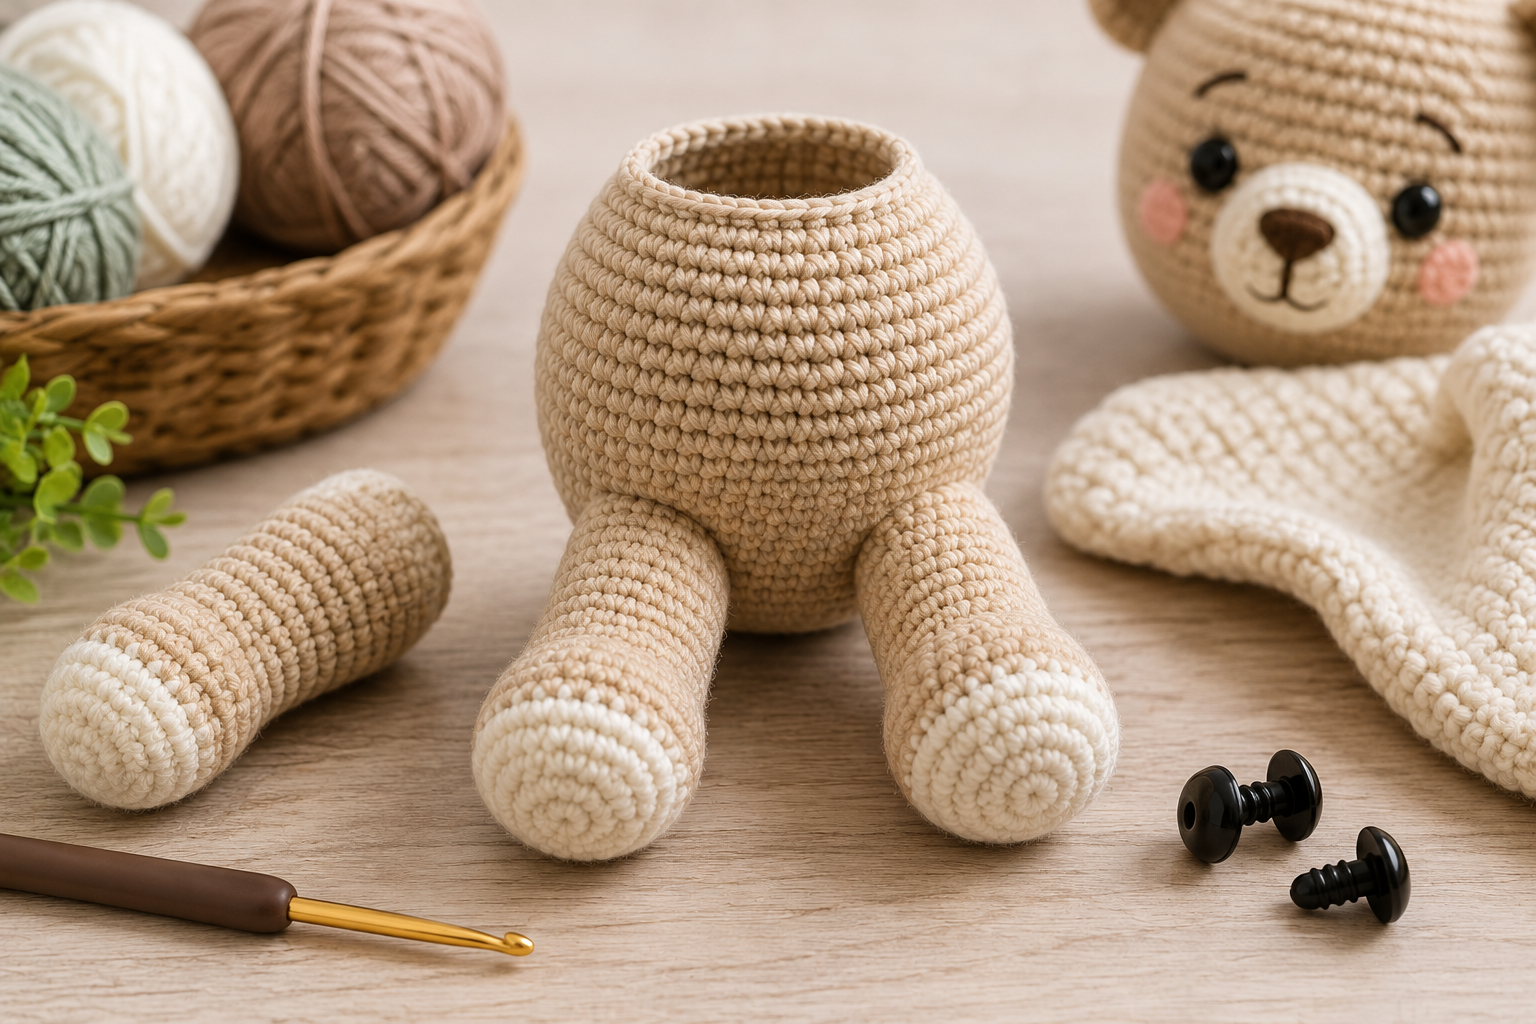
By far the most popular sewing-free technique is to crochet the legs as separate small pieces first, stuff them, and then join them directly into the working round of the body using single crochet stitches, rather than finishing them off and sewing them on afterward.
Here’s generally how it works: after completing and stuffing both legs, you set them aside without fastening off the last round completely — leaving live stitches — or you complete them and identify the exact stitches where they’ll be attached. Then, when you begin crocheting the body from the bottom up, instead of just working into a magic ring or starting chain, you work single crochet stitches directly through the stitches of both legs, effectively “welding” them into the base of the body in the very same round.
This method has become especially popular thanks to patterns from well-known amigurumi designers, who often specify something like: “work a certain number of single crochets across the first leg, then repeat across the second leg, joining them into one continuous round to begin the body.” The legs become structurally part of the body from that point forward, with no separate attachment step needed at all.
Advantages: This technique produces an extremely secure, durable join since the legs and body are literally crocheted together as one continuous piece of fabric. There are no visible seams, no risk of a leg coming loose over time, and the finished look tends to be cleaner and more professional. It also saves significant time compared to sewing.
Considerations: This method requires some planning ahead, since you need to crochet and stuff the legs before starting the body, and many amigurumi patterns are specifically written with this technique in mind, using notation for joining rounds. If you’re adapting a pattern that assumes sewing, you may need to adjust stitch counts slightly to make the join work smoothly.
Method 2: Using Safety Joints (Plastic or Metal Joints)
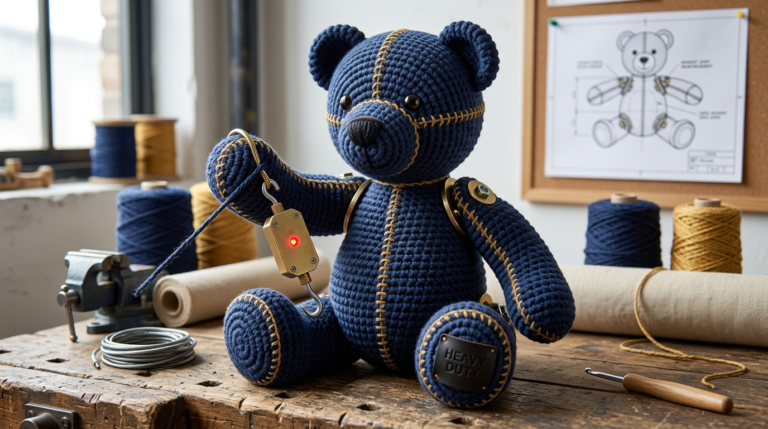
Another popular sewing-free option, especially for makers who want posable or rotating limbs, is to use safety joints — small plastic or metal disc-and-washer sets, often the same type used in traditional teddy bear making. These joints allow the legs to actually move and rotate at the hip, which sewn or crocheted-together legs cannot do.
To use this method, a hole is created in both the leg and the body at the desired attachment point (often simply by pushing the joint’s post through the crochet fabric, since the stitches are tight enough to hold it in place). The joint post goes through both layers, and a locking washer is secured on the inside, holding everything firmly together while still allowing rotational movement.
Advantages: Safety joints allow for posable, movable limbs, which many crocheters find highly desirable for dolls, animals, or characters that benefit from being able to sit, stand, or hold different poses. They also create an extremely strong, permanent bond, since once the washer is locked onto the post, it typically cannot be removed without breaking the joint.
Considerations: Safety joints require purchasing specific hardware in the correct size for your project, and the installation process, while not technically sewing, does require some practice to get comfortable with. Additionally, because these joints are considered a potential choking hazard once installed, this method should be avoided or used with extreme caution for toys intended for young children, and locking joints specifically labeled as safety-tested for children’s toys should always be used in that case.
Method 3: Crochet a Connecting Round Instead of Individual Attachment
A slightly different variation on Method 1 involves working the legs separately, then instead of joining them mid-round into a new body, crocheting one final connecting round that goes around both legs together, effectively fusing them at their tops before continuing on to crochet the body upward from that shared base.
This is common in patterns where the character’s design calls for the legs to be very close together or fused at the top, such as certain animal or character designs where a full gap between the legs isn’t part of the aesthetic. The technique still avoids sewing entirely, relying instead on crochet stitches to physically connect the pieces.
Advantages: This method offers similar durability benefits to Method 1, with the additional advantage of creating a very clean, seamless transition between the legs and body, since there’s no visible break in the stitch pattern at all.
Considerations: This technique works best for characters or animals where the legs are meant to sit close together without much of a gap. It may not be suitable for characters where the legs need more separation.
Method 4: Using Buttons or Snap Fasteners
For crocheters who want removable, interchangeable, or highly posable limbs — useful in customizable dolls or toys where different accessory legs might be swapped in — using button-and-loop closures or fabric snap fasteners is another sewing-free option, in the sense that no hidden whip-stitching is required, even though a small amount of straightforward attachment work is still involved in securing the fastener hardware itself.
Advantages: This method allows the legs to be removed or swapped, which is a unique feature not offered by permanent joining methods, and it can be a fun option for interactive or customizable amigurumi projects.
Considerations: This method generally isn’t as secure or durable as the fully integrated crochet methods, and the visible hardware may not fit every aesthetic. It’s also not recommended for pieces intended for small children due to the small parts involved.
Tips for a Clean, Symmetrical Result
Regardless of which sewing-free method you choose, a few general tips can help ensure your legs come out even and well-matched:
Count your stitches carefully: When joining legs mid-round into the body, it’s essential to count stitches precisely on both legs to ensure they’re symmetrical. A small miscount can lead to one leg sitting slightly higher, lower, or at an angle compared to the other.
Stuff both legs to the same firmness: Before joining, make sure both legs have a similar, consistent level of stuffing, since uneven firmness can make one leg look different from the other once attached.
Use stitch markers to track placement: Especially when joining legs into a continuous round with the body, placing stitch markers at key points, such as the center front, center back, and the point where each leg begins and ends, can help keep everything aligned and prevent the piece from twisting or shifting off-center as you work.
Test the fit before fully joining: If you’re using safety joints, it can help to temporarily hold the leg in place against the body to check the positioning and angle looks right before making the connection permanent, since these joints typically cannot be repositioned once installed.
Work slowly on the joining round: The round where legs are joined to the body tends to have a higher stitch count and can be a little fiddly, since you’re working through multiple layers of fabric at certain points. Taking your time here, rather than rushing, will result in a cleaner, more even finish.
Final Thoughts
Joining amigurumi legs without sewing isn’t just a shortcut — for many crocheters, it actually produces a stronger, cleaner, more professional-looking result than traditional whip-stitching. Whether you choose to crochet the legs directly into the body as a continuous piece, use safety joints for posable movement, or explore fasteners for a customizable design, each method offers its own advantages depending on the project’s purpose and your personal preferences as a maker.
As with most amigurumi techniques, the best way to determine which method works for you is to practice on a small, low-stakes project first. Once you get comfortable with joining legs directly into the body during construction, you may find that you rarely reach for a sewing needle at all — saving time, reducing finishing frustration, and producing amigurumi that hold together beautifully for years to come.
Clara Fern — Crochet Artist & Amigurumi Designer
Clara Fern is a crochet artist and amigurumi designer based in Austin, Texas. With 9 years of experience working with yarn and hook, she transformed a lifelong passion for handcraft into a creative mission: making amigurumi accessible, fun, and deeply rewarding for crafters of all levels.
Clara discovered amigurumi during a trip to Japan in 2017, where she fell in love with the art of bringing tiny characters to life through crochet. Back home in Texas, she spent years studying color theory, design principles, and advanced crochet techniques — developing her own signature style that blends kawaii aesthetics with original character design.
Through maclafersa.com, Clara shares everything she has learned — from choosing the right yarn and reading your first pattern, to designing fully original amigurumi characters from scratch. Her writing is known for being clear, detailed, and genuinely helpful, with no steps skipped and no secrets kept.
When she’s not crocheting, Clara enjoys watercolor painting, visiting local yarn shops, and drinking way too much coffee while sketching new character ideas.