How to Shape Amigurumi Faces for a Professional Look
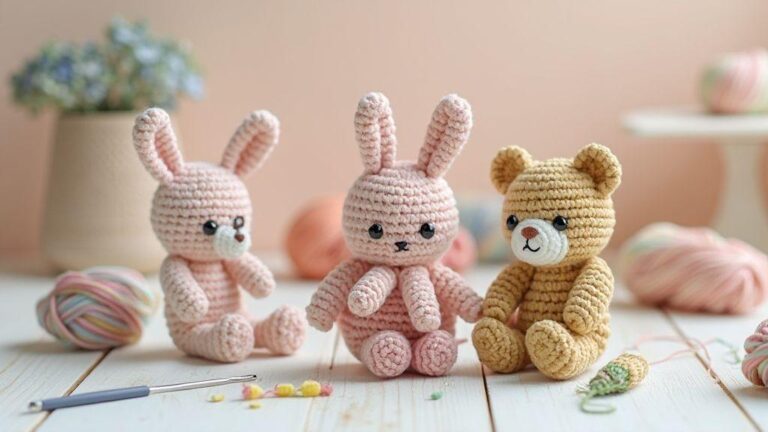
Of all the elements that go into making an amigurumi, the face is arguably the most important. It’s the first thing anyone notices when they look at a finished piece, and it’s largely responsible for giving the character its personality, charm, and emotional appeal. Two amigurumi made from the exact same pattern, same yarn, and same hook can look drastically different depending on how the face is shaped and finished — one might look flat, lopsided, or amateurish, while the other looks polished, expressive, and ready for a shop shelf. Fortunately, achieving a professional-looking face isn’t about having some rare artistic talent; it comes down to a handful of specific techniques related to shaping, placement, and finishing that anyone can learn with a bit of practice.
In this article, we’ll walk through the key techniques experienced amigurumi makers use to create faces that look intentional, balanced, and full of character.
Why Faces Are So Hard to Get Right
Unlike bodies or limbs, which are largely defined by their overall silhouette, faces rely on very precise, small-scale details — the exact placement of the eyes, the curve of a mouth, the subtle shaping of cheeks — to convey expression. Small errors that would go unnoticed on a leg or an arm become glaringly obvious on a face, since our brains are naturally wired to scrutinize facial features and notice asymmetry or misalignment almost instantly.
This is why even experienced crocheters sometimes spend more time troubleshooting and adjusting a face than any other part of the amigurumi. The good news is that a systematic approach to face shaping removes much of the guesswork.
1. Start With Proper Stuffing and Shaping of the Head
Before any facial features are added, the head itself needs to be shaped correctly, since it forms the canvas everything else sits on. A head that’s lumpy, lopsided, or unevenly stuffed will make it nearly impossible to place features symmetrically, no matter how carefully you position them afterward.
As discussed in stuffing technique generally, add filling gradually rather than all at once, checking the shape frequently as you go. Pay close attention to symmetry — hold the head up and look at it from multiple angles, including straight on, from above, and in profile, to check for any lopsidedness before moving forward. Small adjustments to stuffing distribution at this stage save a lot of frustration later.
2. Plan Facial Feature Placement Before Attaching Anything
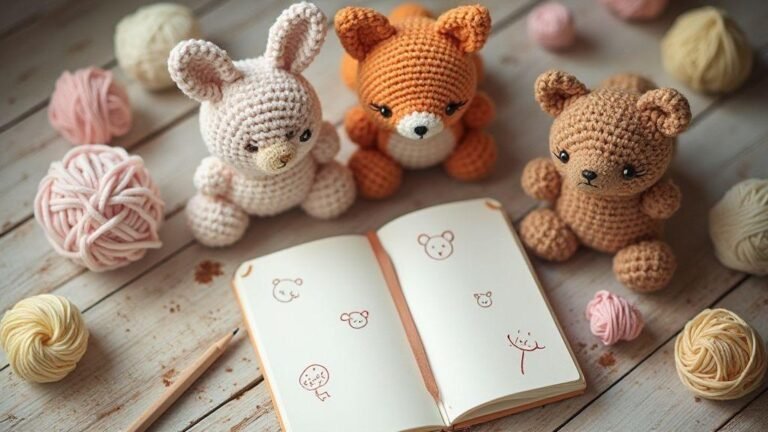
One of the most common mistakes beginners make is attaching eyes, in particular, without a clear plan, resulting in features that are too high, too low, too close together, or unevenly spaced. Professional-looking amigurumi almost always start with careful planning before a single pin or stitch goes in.
Use the round-counting method: Since amigurumi heads are worked in continuous spiral rounds, you can count rounds from the top or bottom of the head to determine a consistent horizontal placement line for the eyes, ensuring both sit at exactly the same height. Many patterns will specify something like “place safety eyes between rounds 9 and 10,” which exists precisely to support this kind of precision.
Use stitch-counting for horizontal spacing: Similarly, count stitches from the center front of the head outward in both directions to ensure eyes are placed the same distance apart from the centerline, rather than eyeballing it, which often results in subtle asymmetry that’s hard to notice until the piece is finished.
Pin before you commit: If you’re using safety eyes, which require pushing a post through the fabric and cannot easily be repositioned once the backing washer is attached, it’s worth using removable stitch markers, pins, or even just holding the eyes in place with your fingers first, viewing the head from different angles and distances to get a real sense of how the spacing and placement will look once finished.
3. Consider the Effect of Eye Spacing on Expression
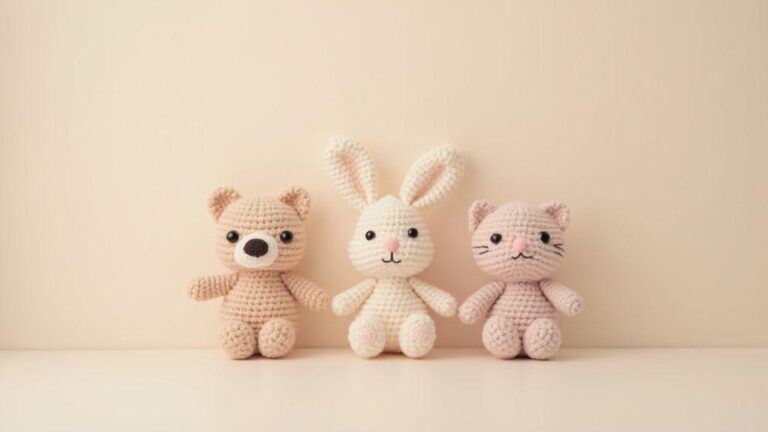
The distance between the eyes has a surprisingly large impact on the character’s overall expression and personality. Eyes placed closer together tend to create a more focused, alert, or sometimes mischievous look, which works well for characters like foxes, cats, or more angular animal designs. Eyes placed farther apart, on the other hand, tend to create a softer, more innocent, or baby-like appearance, which is often desirable for characters like bears, bunnies, or rounder, cuter designs.
Before finalizing placement, think about the personality you want the finished piece to convey, and adjust the spacing accordingly, even if it deviates slightly from what a pattern’s written instructions suggest, since patterns don’t always account for the specific yarn weight or head size you may be working with.
4. Use Safety Eyes and Noses for a Clean, Uniform Look
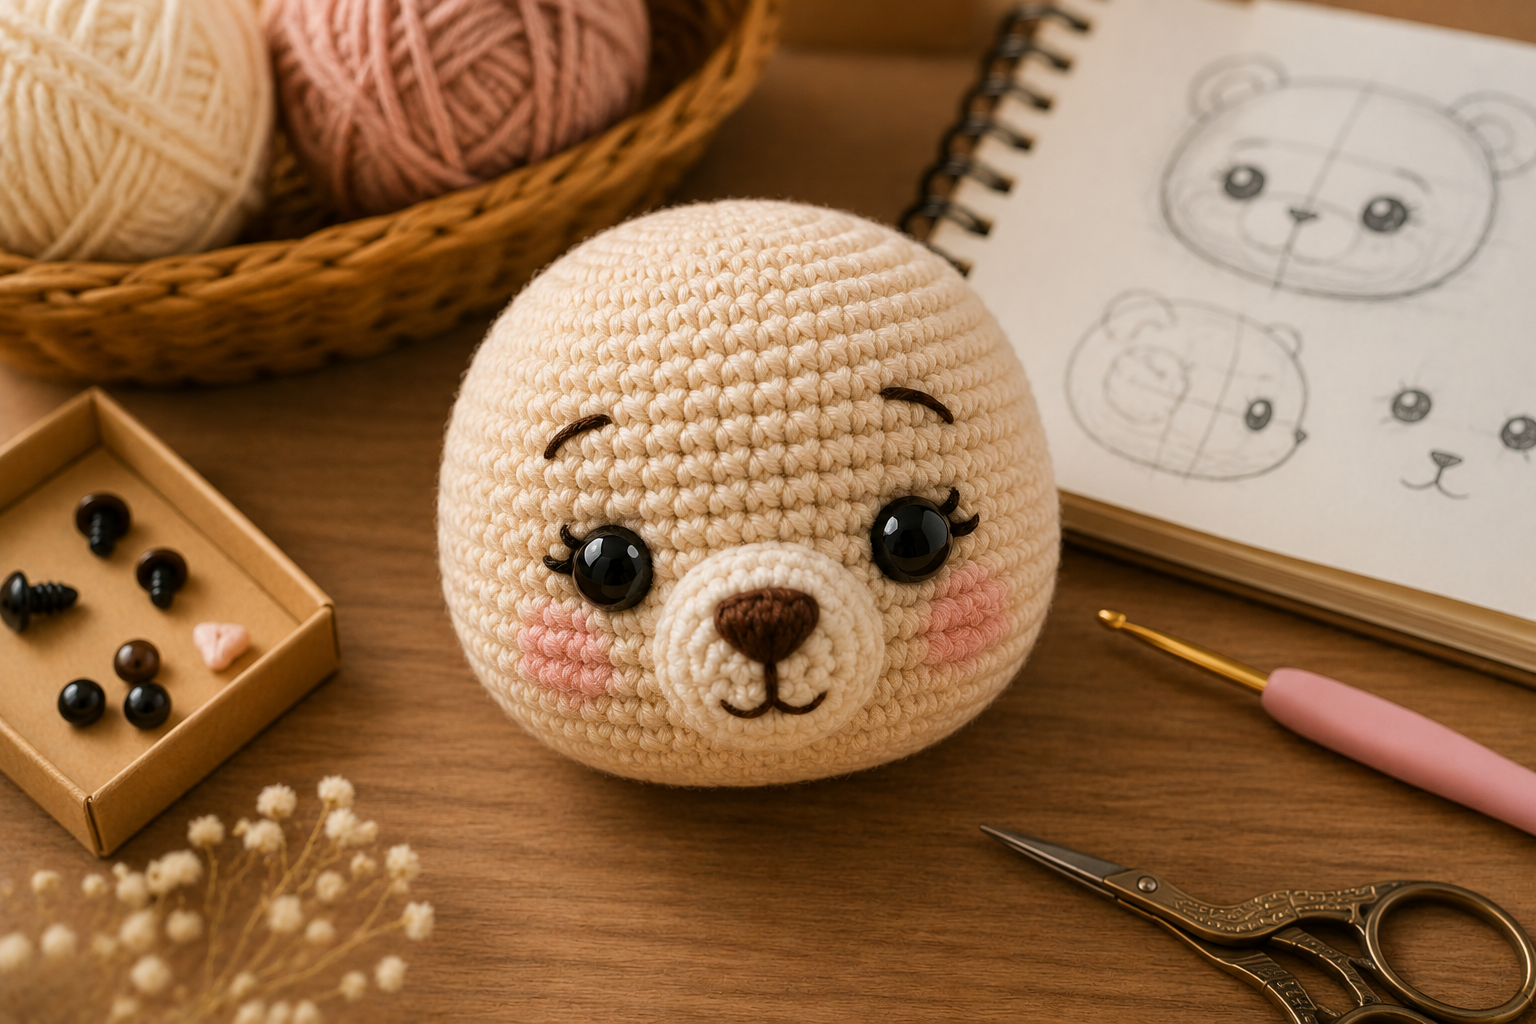
While embroidered features can absolutely look wonderful in the right hands, safety eyes and noses — plastic pieces with a post that gets pushed through the crochet fabric and secured with a backing washer on the inside — tend to produce a more consistently polished, professional look, especially for makers who are still developing embroidery skills.
Safety eyes come in many sizes, colors, and styles, from simple black domes to more elaborate designs with printed pupils or glitter, allowing you to choose an option well-suited to the character being made. Because they’re factory-made and uniform, they eliminate a lot of the variability that comes with hand-embroidered eyes, where slight differences in stitch tension or shape between the two eyes can create noticeable asymmetry.
When selecting eye size, it’s worth considering the overall scale of the head — eyes that are too small can make a face look plain or expressionless, while eyes that are too large can overwhelm the design and make the character look startled rather than charming. A helpful practice is holding a few different eye sizes up against the head before committing to see which proportion feels the most balanced.
5. Embroider Mouths and Details With a Light, Controlled Hand
Mouths, eyebrows, and other small facial details are usually added with embroidery rather than safety hardware, since these smaller, more organic shapes are difficult to replicate with rigid plastic pieces. To achieve a clean embroidered mouth, a few techniques make a significant difference:
Use a contrasting but not overly bold thread color: A mouth embroidered in a color that’s too dark or high-contrast compared to the yarn can look harsh or overly graphic; softer, slightly muted tones often blend more naturally into the face.
Keep stitches short and controlled: Long, loose embroidery stitches are more prone to shifting, twisting, or looking sloppy compared to shorter, more controlled stitches, particularly for curved shapes like a smile.
Use backstitch or split stitch for smooth curves: These embroidery techniques create a continuous, smooth line that curves naturally, which tends to look more polished than trying to create a curved mouth using a single long stitch, which can look stiff or angular instead.
Practice on scrap fabric first: If you’re not confident in your embroidery skills yet, practicing the mouth shape on a spare swatch of the same fabric and yarn before committing to the actual piece can help you refine the shape and technique without risking having to unpick stitches from the finished project.
6. Shape Cheeks and Blush for Warmth and Dimension
Adding a bit of blush to the cheeks, whether through light embroidery, a touch of blush-toned felt, or specialized doll-making blush powder applied carefully with a small brush, can add significant warmth and charm to a face that might otherwise look flat or one-dimensional. This small addition often makes the difference between a face that looks merely competent and one that looks genuinely endearing.
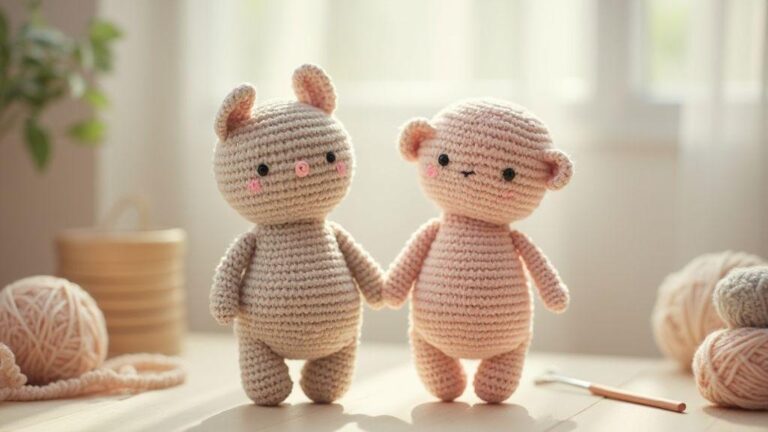
When adding blush, less is generally more — a subtle, soft application tends to look more natural and professional than a heavy, cartoonish application. Blush is typically placed just below and slightly outward from the eyes, following the natural curve of where cheeks would be on a rounder face shape.
7. Step Back and Evaluate From a Distance
A face that looks perfectly proportioned up close, examined stitch by stitch, can sometimes look off once you step back and view it from a normal viewing distance, the way anyone looking at the finished piece actually would. Throughout the process of adding facial features, make a habit of periodically holding the piece at arm’s length, or even setting it down on a table and walking a few steps away, to evaluate the overall impression rather than getting lost in close-up details.
This kind of periodic zooming out helps catch issues like features that are technically symmetrical in measurement but still look visually unbalanced due to how the head’s curvature affects the perception of placement.
8. Don’t Be Afraid to Adjust or Redo
Even among experienced makers, it’s common to attach an eye, step back, and realize something feels slightly off — perhaps the eyes are a touch too close together, or the mouth curves in a way that reads as more of a smirk than the friendly smile that was intended. Safety eyes, once the backing washer is on, are difficult to remove without damaging the fabric, so many crocheters recommend holding off on attaching the backing washer until you’re fully confident in placement, testing the look with the post simply pushed through and held from behind first.
Embroidered features, fortunately, are much easier to remove and redo if something doesn’t look right, and there’s no shame in unpicking a mouth or eyebrow multiple times until the expression feels correct. Professional-looking results often come not from getting everything right on the first attempt, but from a willingness to critically evaluate and adjust until the piece truly looks its best.
Final Thoughts
Shaping a professional-looking amigurumi face comes down to a combination of careful planning, precise placement, and thoughtful finishing touches — from properly stuffing and shaping the head as a foundation, to methodically counting rounds and stitches for symmetrical eye placement, to adding subtle details like blush and well-controlled embroidered mouths that bring warmth and personality to the design. None of these techniques require exceptional artistic talent; they simply require patience, attention to detail, and a willingness to step back, evaluate, and adjust as needed.
With practice, the process of shaping expressive, well-balanced faces becomes much more intuitive, and the improvement in the overall quality and charm of your amigurumi will be immediately noticeable — often the single biggest factor separating a homemade-looking piece from one that could pass for a professionally made toy.
Clara Fern — Crochet Artist & Amigurumi Designer
Clara Fern is a crochet artist and amigurumi designer based in Austin, Texas. With 9 years of experience working with yarn and hook, she transformed a lifelong passion for handcraft into a creative mission: making amigurumi accessible, fun, and deeply rewarding for crafters of all levels.
Clara discovered amigurumi during a trip to Japan in 2017, where she fell in love with the art of bringing tiny characters to life through crochet. Back home in Texas, she spent years studying color theory, design principles, and advanced crochet techniques — developing her own signature style that blends kawaii aesthetics with original character design.
Through maclafersa.com, Clara shares everything she has learned — from choosing the right yarn and reading your first pattern, to designing fully original amigurumi characters from scratch. Her writing is known for being clear, detailed, and genuinely helpful, with no steps skipped and no secrets kept.
When she’s not crocheting, Clara enjoys watercolor painting, visiting local yarn shops, and drinking way too much coffee while sketching new character ideas.