How Much Stuffing Should You Put in Amigurumi?
If there’s one question that trips up nearly every amigurumi maker — from complete beginners to crocheters with years of experience — it’s how much stuffing is actually the right amount. Too little, and the piece looks saggy, lumpy, or collapses in on itself. Too much, and the stitches stretch apart, the shape distorts, and the fabric can even start to look thin and worn before the project is even finished. Unlike many aspects of crochet, stuffing density isn’t something that’s easy to standardize with a fixed number or measurement, because it depends on the size of the piece, the yarn used, the hook size, and even the specific part of the body being stuffed. Still, there are clear principles, techniques, and warning signs that can guide you toward getting it right almost every time.
In this article, we’ll break down exactly how much stuffing is appropriate for different situations, how to recognize when you’ve added too much or too little, and practical tips for achieving that firm, professional, gallery-shelf look that makes amigurumi so satisfying to create.
Why Stuffing Amount Matters So Much
Stuffing isn’t just filler — it’s what gives an amigurumi its structure, shape, and posture. A well-stuffed piece holds its form, stands upright if it’s meant to, and has a pleasant, slightly firm feel when squeezed, similar to a quality plush toy. Poorly stuffed pieces, on the other hand, tend to flop over, develop dents, or look deflated within days of being finished.
Because amigurumi pieces are typically worked in a tight gauge with single crochet stitches, the fabric itself has very little natural give compared to looser crochet or knitting. This means the fabric mostly takes on the shape dictated by the stuffing underneath it, rather than holding its own structure independently. In other words, the stuffing is doing more of the structural work in amigurumi than in almost any other crochet project — which is exactly why getting the amount right is so important.
The General Rule: Firm, Not Hard
The most widely accepted guideline among experienced amigurumi crocheters is that a piece should feel firm to the touch, similar to a stress ball or a well-made stuffed animal — not soft and squishy, but also not hard and rigid like a baseball. When you press gently on a properly stuffed amigurumi, it should give slightly and then bounce back to its original shape, without a visible dent remaining after you release pressure.
If the piece feels hard, rigid, or the stitches look strained and separated even when the piece is resting still, that’s a clear sign of overstuffing. If the piece feels soft, wrinkly, or you can easily press your finger deep into the fabric and feel it stay dented, that’s a sign of understuffing.
Signs of Overstuffing
Overstuffing is arguably the more common mistake among beginners, since there’s a natural instinct to want the piece to feel solid and substantial. However, packing in too much filling causes several problems:
Visible gaps between stitches: When too much stuffing is packed into a piece, the fabric stretches beyond its natural capacity, and small gaps or holes can appear between stitches, letting the white or colored stuffing peek through. This is especially noticeable in areas with increases, like the widest part of a head or body.
Distorted shape: Overstuffed pieces often lose the intended silhouette of the pattern. A round head might start to look more oval or lopsided, and limbs can become stiff and unnaturally rigid rather than having a soft, huggable quality.
Stress on the seams: Excess stuffing puts additional pressure on any seams or areas where pieces are sewn together, which can lead to threads popping or seams gradually opening over time, especially with pieces that will be handled frequently, such as toys for children.
Difficulty closing the piece: If you find yourself really struggling to close the final round of stitches because there’s too much resistance from the stuffing pushing against the fabric, that’s a strong indicator you’ve gone overboard.
Signs of Understuffing
While less commonly discussed, understuffing is just as much of a problem and can be just as visually unappealing:
Sagging or collapsing: Understuffed pieces, especially larger ones like bodies or heads, may not hold their shape at all, appearing to sag, cave in on one side, or collapse under their own weight.
Wrinkled or bumpy surface: Without enough stuffing to fill out the fabric evenly, the surface of the piece can look wrinkled, uneven, or bumpy, since the crochet fabric doesn’t have anything firm to stretch smoothly over.
Weak structural support: For amigurumi pieces that need to stand up on their own, like animals with legs or dolls in a standing pose, insufficient stuffing in the base or legs will prevent the piece from balancing properly.
Floppy limbs and joints: Arms, legs, and other appendages that are understuffed tend to flop around loosely rather than holding a natural, slightly posed position, which can make the finished piece look unfinished or poorly made.
Practical Techniques for Getting It Right
1. Stuff Gradually, Not All at Once
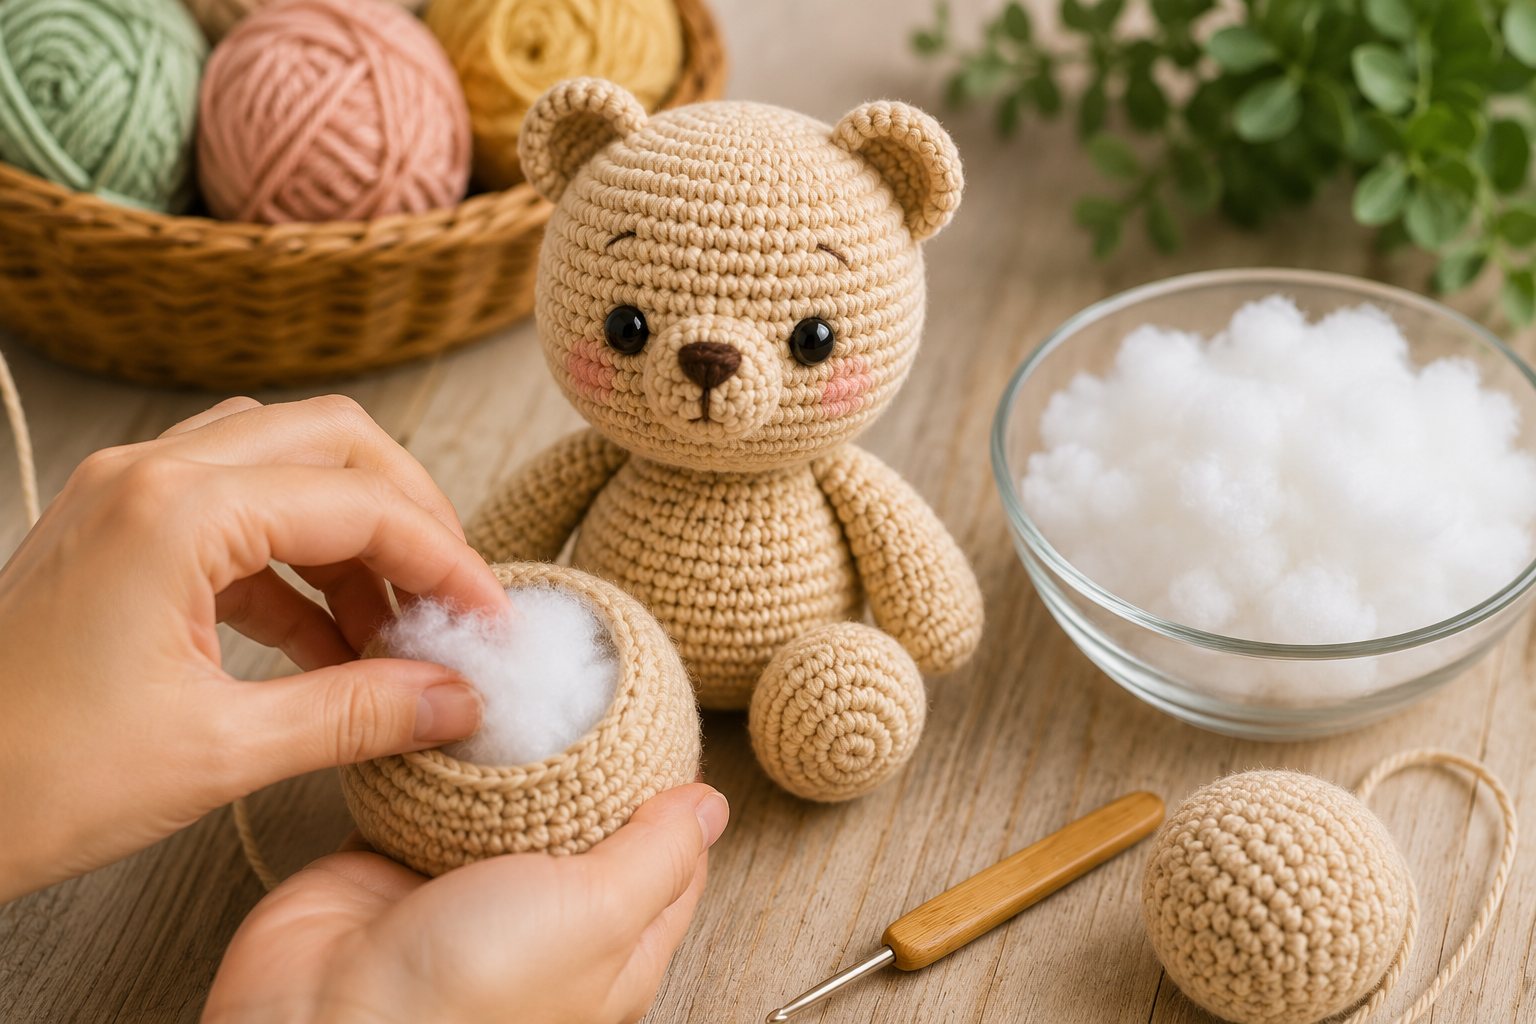
One of the most effective techniques for achieving the right amount of stuffing is to add it in small amounts as you crochet, rather than waiting until the piece is completely finished and then trying to cram everything in through a small opening at the end. Stuffing gradually allows you to check the shape and firmness continuously, adjusting as needed, and it’s much easier to distribute the filling evenly this way.
For example, when working on a head, you might add a small amount of stuffing once you’re about two-thirds of the way through, and then continue adding more in small increments as you approach the final rounds, checking firmness after each addition.
2. Use Small Pieces of Stuffing
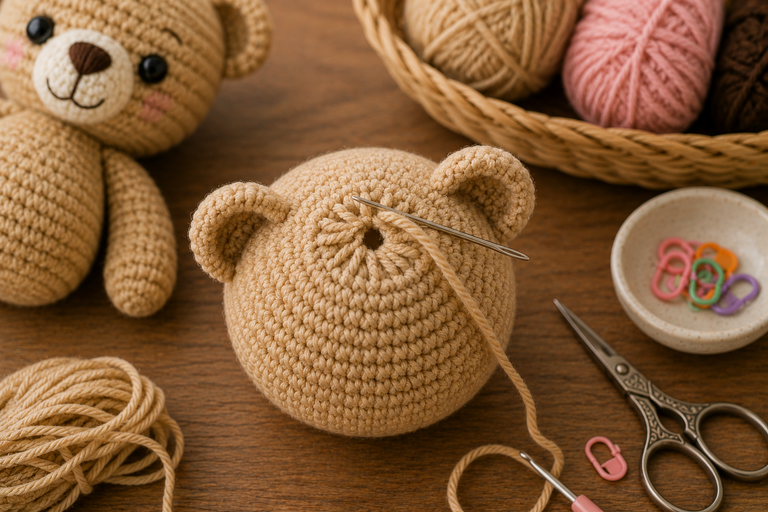
Rather than pushing in large clumps of polyester fiberfill, tear the stuffing into smaller, loose pieces before inserting them into the piece. Smaller pieces are much easier to distribute evenly throughout the shape, preventing lumps and dense pockets that can create an uneven surface. A tool like a chopstick, a knitting needle, or even the end of a crochet hook can help push stuffing into corners and tight spaces, particularly in narrow parts like arms, legs, or ears.
3. Check Firmness by Squeezing Regularly
As you work, periodically stop and gently squeeze the piece between your fingers. Compare how it feels to a plush toy or stress ball you may have on hand. This tactile check is often more reliable than trying to judge by sight alone, since visual cues can be deceiving, especially in patterned or textured yarns where gaps and lumps are harder to spot.
4. Consider the Type of Stuffing
Not all stuffing materials behave the same way, and this affects how much you’ll need. Polyester fiberfill is the most common choice and offers good loft and softness with moderate firmness when packed appropriately. Some crocheters also use plastic poly pellets in small amounts, particularly in the base of a piece, to add weight and help it stand upright — though pellets should always be used in combination with fiberfill, never alone, and should be secured in an inner fabric pouch to prevent them from working their way out through the stitches. Cotton stuffing, though more expensive and less commonly used, tends to be denser and may require slightly less volume to achieve the same firmness as polyester fiberfill.
5. Match Stuffing Density to the Piece’s Purpose
The appropriate firmness can also depend on what the amigurumi is meant to be used for. A decorative piece meant to sit on a shelf can be stuffed quite firmly since it won’t be handled often, giving it a crisp, well-defined shape. A piece intended as a baby toy or a huggable companion for a child, on the other hand, might benefit from being slightly softer and more pliable, prioritizing comfort and safety over rigid structure — though it should still be firm enough to maintain its shape and not feel floppy.
6. Pay Attention to Different Body Parts
Different parts of an amigurumi often require different stuffing approaches. Heads generally benefit from being stuffed quite firmly, since this is usually the most visually prominent part of the piece and needs to hold a clean, rounded shape. Bodies typically follow a similar level of firmness. Limbs like arms and legs, however, are often stuffed slightly less firmly, particularly near the joints where they attach to the body, allowing for a bit of flexibility and a more natural, poseable feel. Ears, tails, and other small appendages may need only a small pinch of stuffing, or in some cases, no stuffing at all if they’re meant to lie flat.
7. Weigh or Measure for Consistency (Optional)
For crocheters who want extreme consistency, especially when making multiple identical pieces such as a set of toys to sell, some choose to weigh the amount of stuffing used per piece with a small kitchen scale. This ensures that every head, body, or limb in a matching set has the same firmness and appearance, which can be particularly important for professional or commercial amigurumi work.
Final Thoughts
There’s no single universal number — like “two ounces” or “one cup” — that applies to every amigurumi project, because the right amount of stuffing depends heavily on the size of the piece, the yarn and hook combination used, and the personal preference of the maker. However, the guiding principle remains consistent: aim for a piece that feels firm but still has a slight give, similar to a well-made stuffed animal, without visible gaps, dents, or distortion.
Developing a feel for the right amount of stuffing takes practice, and it’s completely normal for even experienced crocheters to occasionally overstuff or understuff a piece, especially when trying a new pattern or working with unfamiliar yarn. The key is to stuff gradually, check firmness often by squeezing the piece, and pay attention to how different sections of the body may require slightly different approaches. With time and repetition, achieving that perfectly firm, professional-looking amigurumi will become second nature.
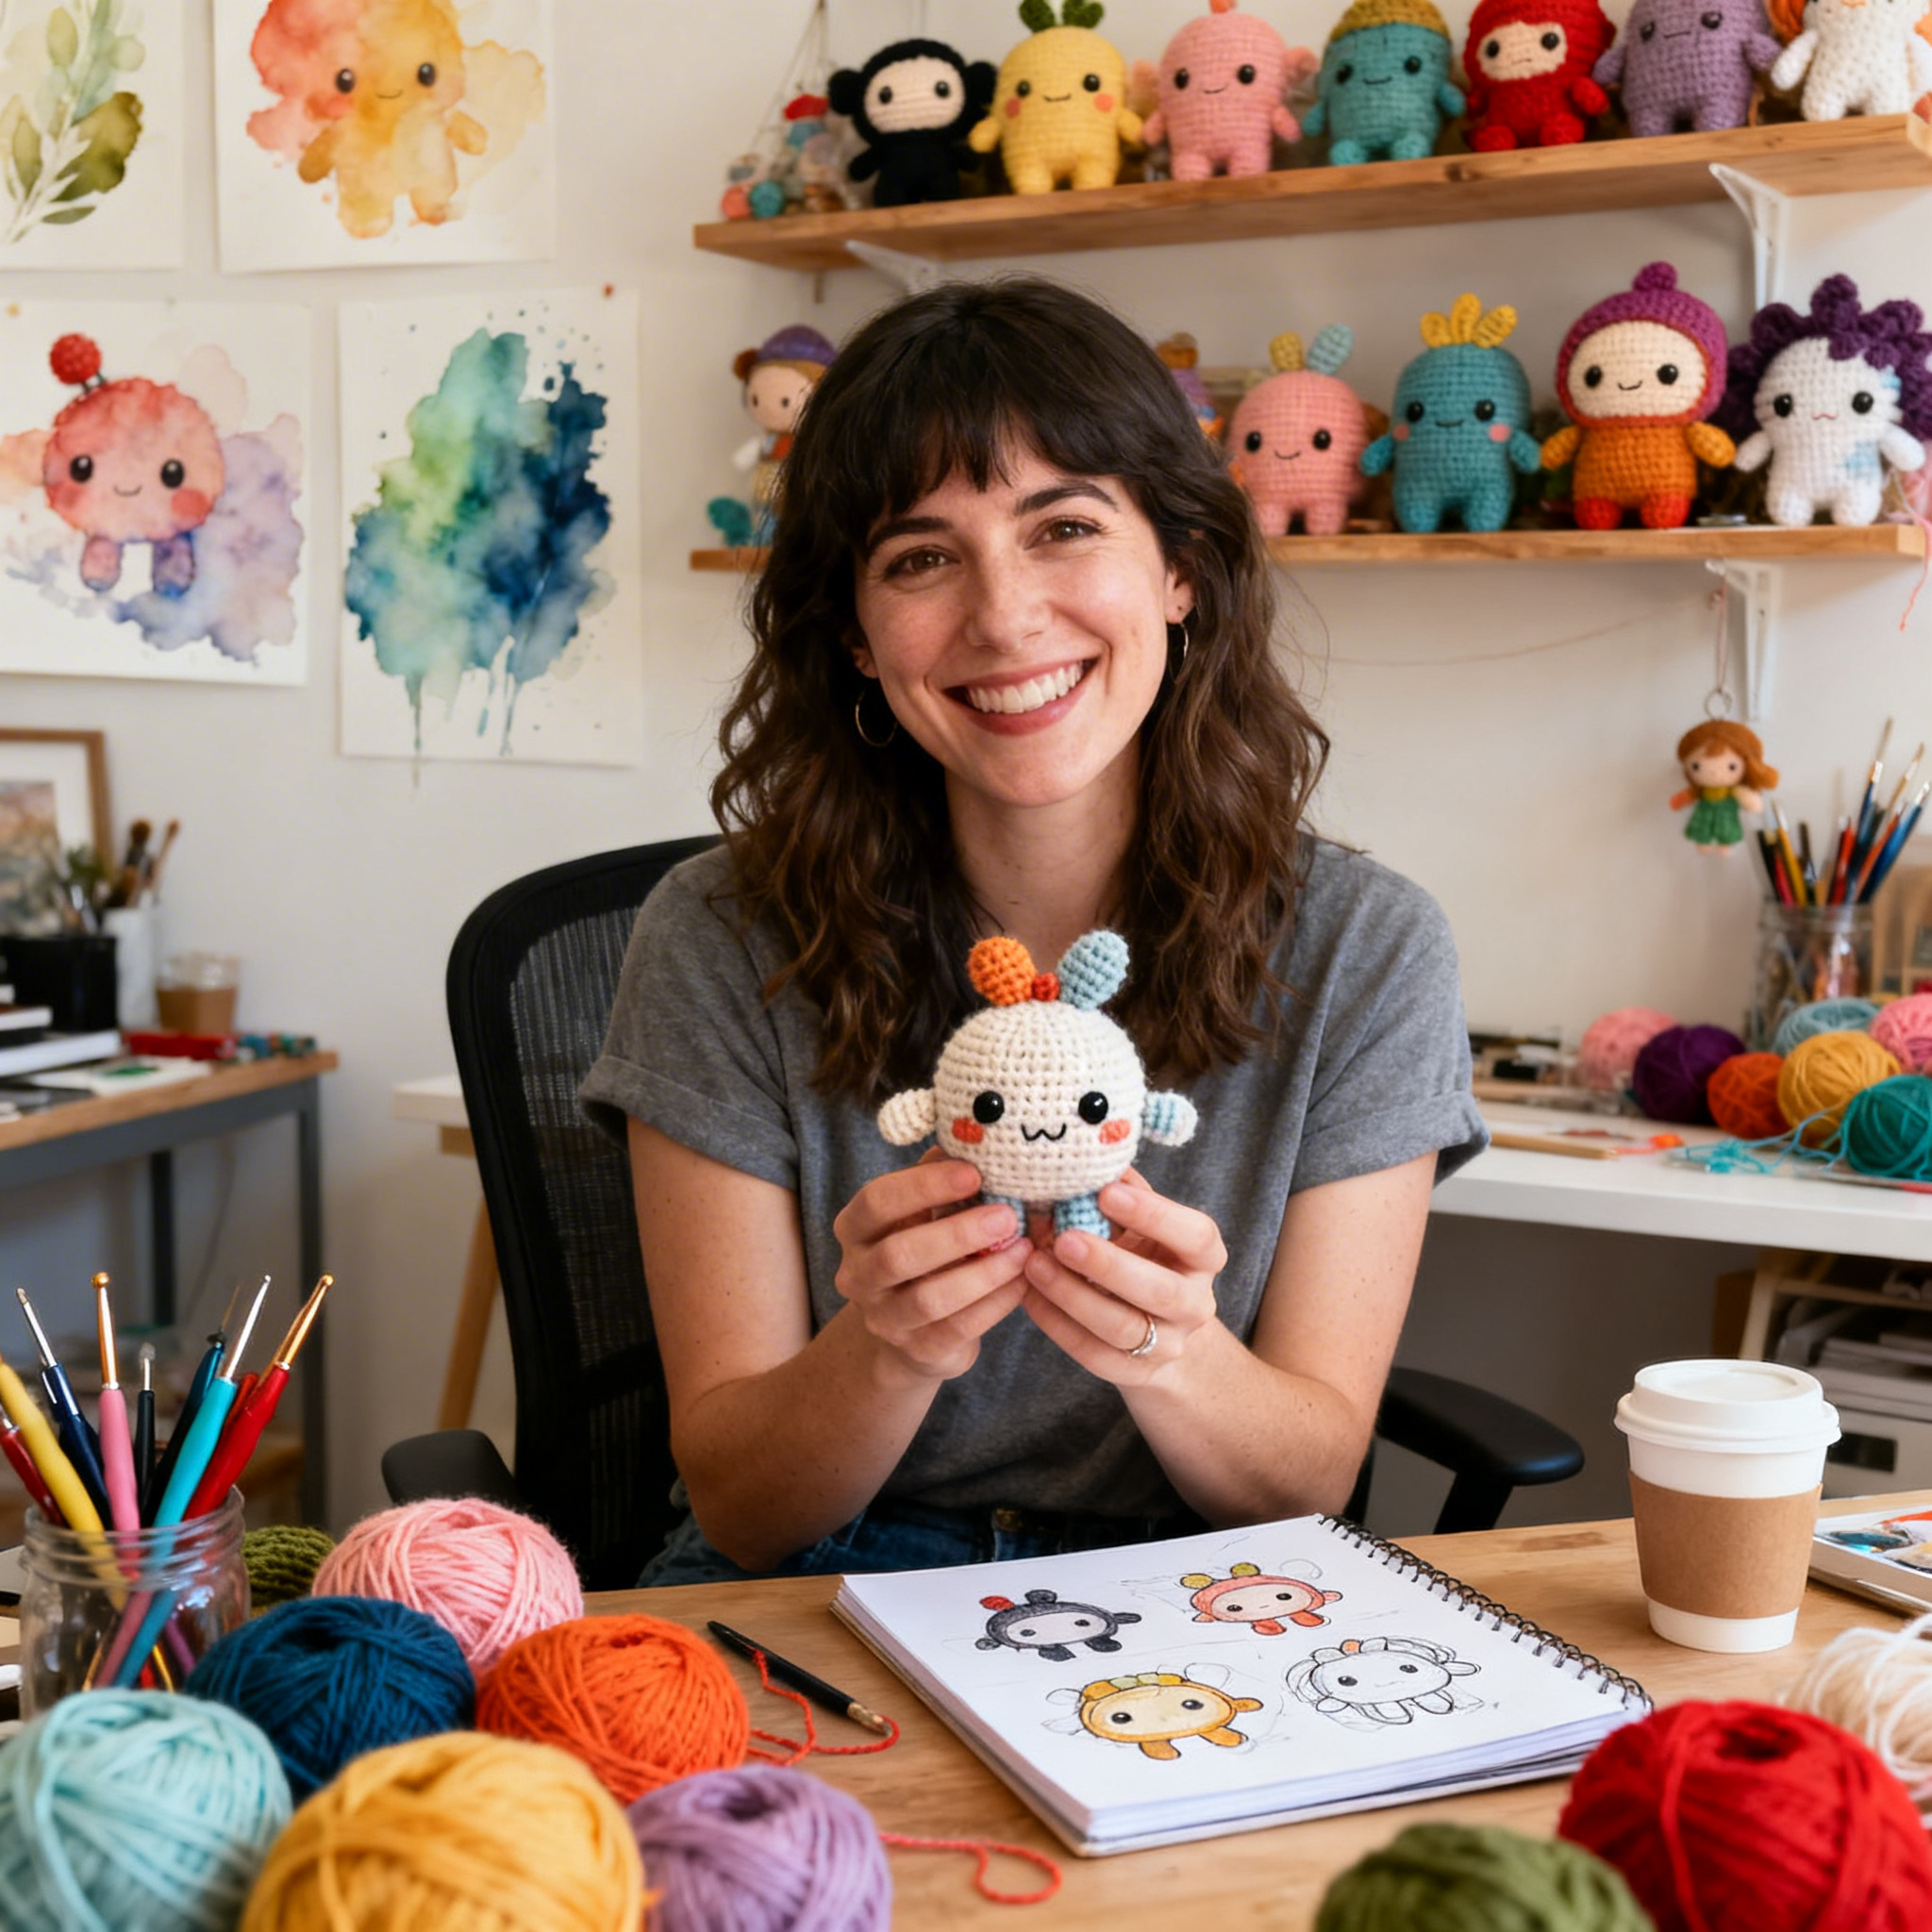
Clara Fern — Crochet Artist & Amigurumi Designer
Clara Fern is a crochet artist and amigurumi designer based in Austin, Texas. With 9 years of experience working with yarn and hook, she transformed a lifelong passion for handcraft into a creative mission: making amigurumi accessible, fun, and deeply rewarding for crafters of all levels.
Clara discovered amigurumi during a trip to Japan in 2017, where she fell in love with the art of bringing tiny characters to life through crochet. Back home in Texas, she spent years studying color theory, design principles, and advanced crochet techniques — developing her own signature style that blends kawaii aesthetics with original character design.
Through maclafersa.com, Clara shares everything she has learned — from choosing the right yarn and reading your first pattern, to designing fully original amigurumi characters from scratch. Her writing is known for being clear, detailed, and genuinely helpful, with no steps skipped and no secrets kept.
When she’s not crocheting, Clara enjoys watercolor painting, visiting local yarn shops, and drinking way too much coffee while sketching new character ideas.