How to Crochet Amigurumi Without Gaps Between Stitches
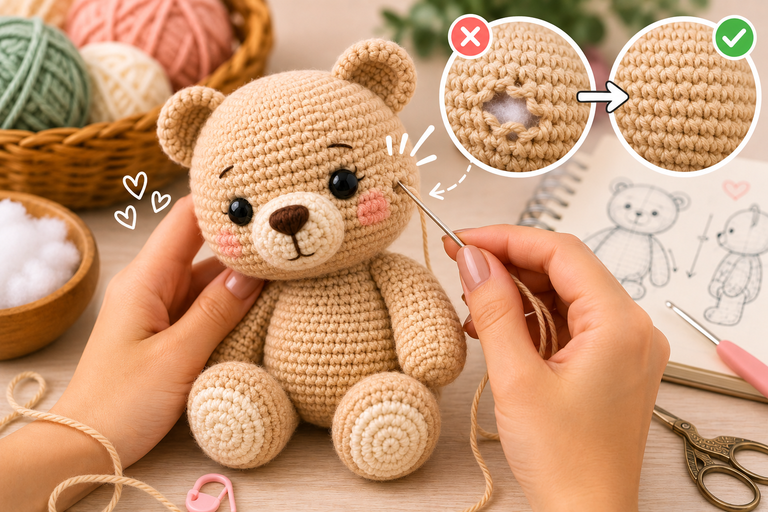
Anyone who has ventured into the world of amigurumi has certainly experienced the frustration of finishing a piece only to notice small holes between the stitches, leaving the stuffing visible and compromising the professional finish that crocheters strive for. This is, without a doubt, one of the most common problems among beginners — and even experienced crocheters occasionally face this challenge. The good news is that there are proven techniques and simple adjustments that can nearly eliminate these unwanted gaps, resulting in pieces with a clean, firm, and professional appearance.
In this article, we’ll explore in detail the main causes of gaps between stitches in amigurumi and, more importantly, the practical solutions for each of them.
Why Do Gaps Between Stitches Appear?
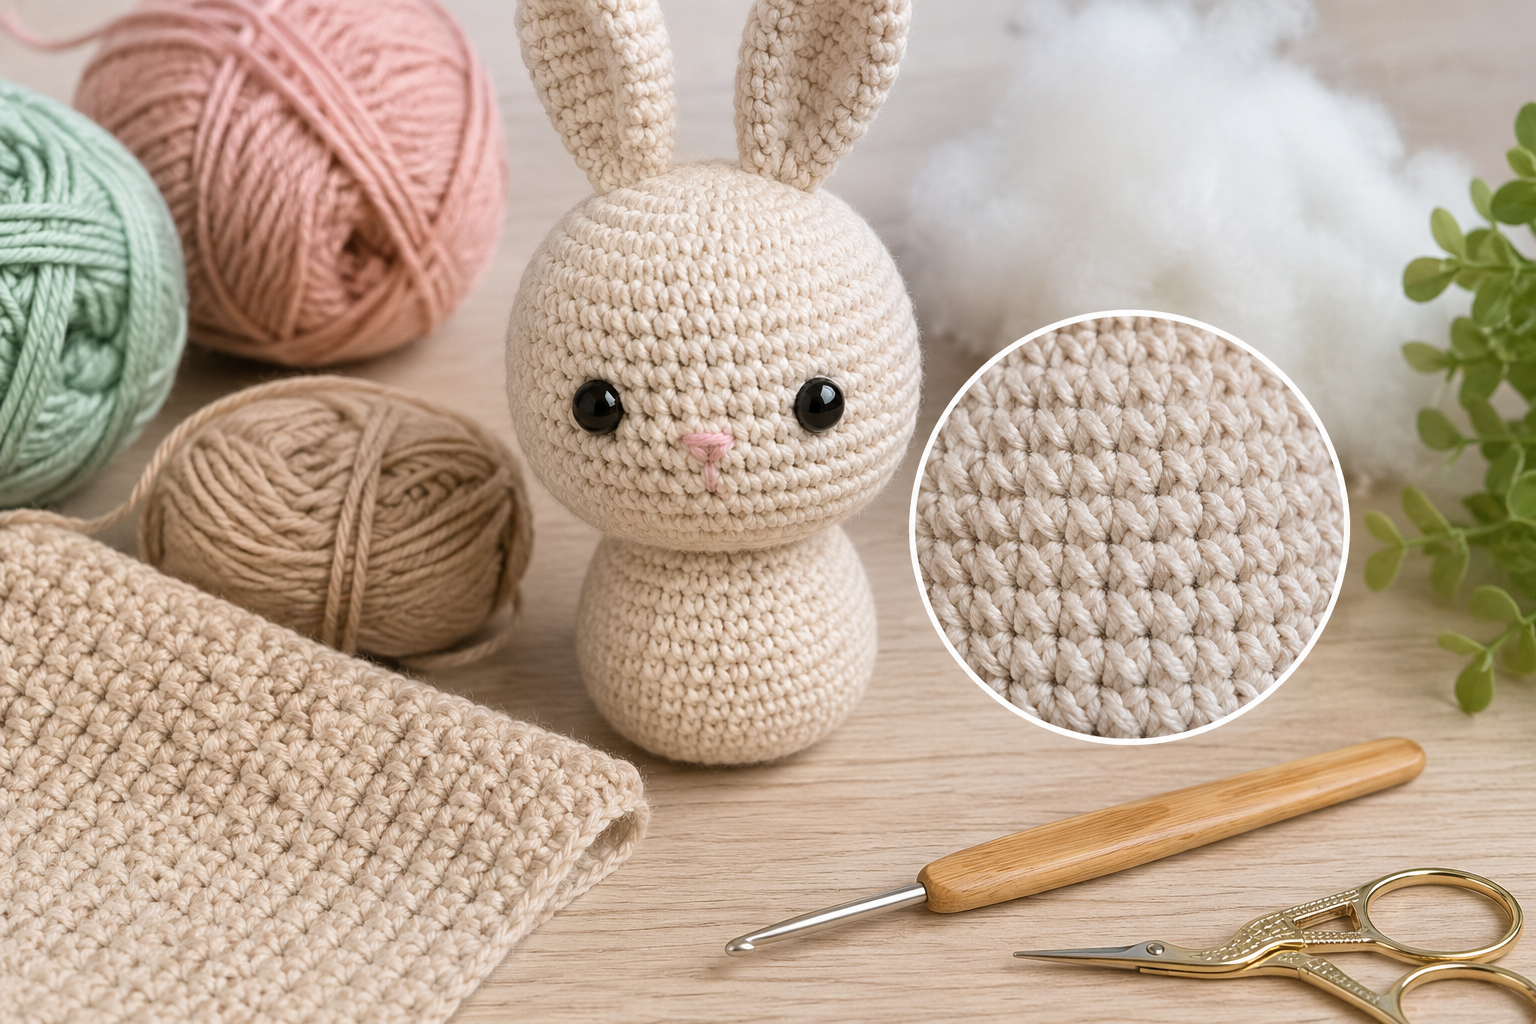
Before fixing the problem, it’s essential to understand its origin. Gaps between stitches in amigurumi generally result from a combination of factors: inadequate yarn tension, incorrect hook size relative to yarn thickness, poorly executed single crochet technique, or even the type of material used. Unlike traditional crochet, where a more open texture can be aesthetically desirable, amigurumi requires a dense, tight fabric capable of containing the stuffing without letting it show through.
1. Choose the Right Hook
One of the most frequent mistakes among beginners is using a hook that’s too large for the chosen yarn. While in conventional crochet it’s recommended to follow the yarn label’s suggestion, in amigurumi the rule is different: you should use a hook one to two sizes smaller than recommended.
This reduction in hook size forces the stitches to sit closer together, creating a denser, tighter fabric. For example, if the yarn label suggests a 4.0 mm hook, for amigurumi it would be ideal to try a 3.0 mm or 3.5 mm hook instead. This small change makes a huge difference in the final result, drastically reducing the visible gaps between stitches.
It’s worth remembering that everyone has a different working tension — some crocheters naturally pull the yarn tighter, while others work more loosely. That’s why it’s always advisable to make a small swatch before starting the final project, testing different hook sizes until you find the ideal balance between firmness and ease of work.
2. Control Your Yarn Tension
The tension with which the yarn is handled during work is decisive for the final result. Tension that’s too loose results in wide, spaced-out stitches, while adequately firm tension — without being excessively tight — creates a uniform, compact fabric.
To develop consistent tension, it’s important to pay attention to how the yarn passes through your fingers. Many experienced crocheters recommend wrapping the yarn around the pinky or index finger, creating controlled resistance that helps maintain even tension throughout the entire piece. Practicing this technique repeatedly, until it becomes natural, is essential for achieving consistent results.
It’s important to note that excessively tight tension also brings problems: it makes the work more tiring for your hands, makes it harder to insert the hook into subsequent stitches, and can, paradoxically, distort the shape of the piece. The goal is to find a firm but comfortable middle ground.
3. Use the Single Crochet Stitch Correctly
The single crochet stitch is the fundamental building block of amigurumi, and executing it correctly is crucial to avoiding unwanted gaps. A common mistake is inserting the hook inconsistently into the two loops of the previous stitch, or pulling the yarn with varying force each time.
For a more compact result, some crocheters choose to work only in the back loop only (BLO) or front loop only (FLO) in certain parts of the piece — a technique that also influences the texture and density of the fabric, although it should be used with judgment, since working in only one loop can, in some cases, create more stretch rather than necessarily reducing gaps.
The most consistent recommendation is to always work in both loops of the stitch, with uniform movements: insert the hook, yarn over, pull one loop through the stitch, yarn over again, and pull through both loops on the hook. Repeating this movement with the same tension for every stitch is the secret to a uniform fabric.
4. Choose the Right Yarn
Not all yarns are equally suited for amigurumi. Very thin yarns or those with very slippery fibers, such as some mercerized cotton or very smooth synthetic yarns, tend to create more visible gaps between stitches, since the fibers don’t “grip” each other well.
Cotton yarns, T-shirt yarn (also known as fabric yarn or trapillo), textured acrylic yarns, and mixed cotton blends tend to provide better coverage and fewer gaps, since their fibers have more friction between them. When choosing yarn for an amigurumi project, it’s worth considering not only the desired color and texture, but also how the material will behave in terms of fabric compactness.
5. Increase Gradually and Carefully
During increases (when two single crochet stitches are worked into the same stitch of the previous round), small gaps commonly form, since the fabric structure is expanding. To minimize this effect, it’s important to distribute increases evenly throughout the round, avoiding concentrating them in a single area, which would create uneven tension and more visible gaps.
Additionally, when making an increase, try to maintain the same tension used in regular stitches. It’s common for increases to be unconsciously worked with looser tension, since they require inserting the hook into the same stitch twice.
6. Proper Stuffing
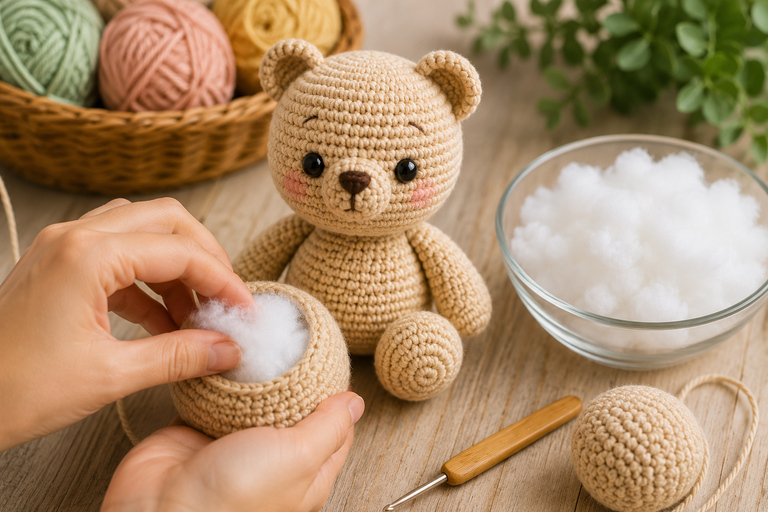
Although stuffing isn’t exactly a stitching technique, it directly affects the visibility of gaps between stitches. Insufficient stuffing causes the fabric to “sink in,” making gaps more visible. On the other hand, excessive stuffing stretches the fabric too much, widening the stitches and creating gaps where none existed before.
The ideal is to fill the piece firmly, but without overdoing it, ensuring the surface stays smooth and even, without hollow spots or overly bulging areas. Adding stuffing gradually as you work, rather than all at once at the end, tends to produce better results.
7. Blocking and Finishing
Although blocking is more commonly associated with traditional crochet pieces, some finishing techniques can help disguise small remaining gaps in amigurumi. Gently running your fingers over the finished piece, manually adjusting the stitches, can help close small openings.
Another technique used by experienced crocheters is reinforcement stitching: after finishing the piece, a strand of matching yarn can be subtly threaded through areas with more visible gaps, gently “pulling” the stitches closer together.
8. Practice for Consistency
Finally, perhaps the most important advice of all: practice leads to consistency. Amigurumi is a skill that develops over time, and stitch uniformity — the determining factor in avoiding gaps — naturally improves with experience.
It’s recommended that beginners practice with small, simple pieces before moving on to more elaborate projects, allowing the hand to get used to the repetitive motion of the single crochet stitch and develop muscle memory for consistent tension.
Conclusion
Eliminating gaps between stitches in amigurumi is an achievable goal through a combination of technical factors: choosing the right hook, maintaining consistent tension, correctly executing the single crochet stitch, carefully selecting the yarn, evenly distributing increases, using appropriate stuffing, and consistent practice. No single one of these techniques alone completely solves the problem, but when applied together, the result is a piece with a noticeably more professional and refined finish.
It’s worth remembering that absolute perfection isn’t always the goal — small imperfections are part of the handmade process and often lend charm to handcrafted pieces. What matters is developing the skills needed to produce firm, durable, and visually pleasing amigurumi, characteristics that become natural with dedication and continued practice.

Clara Fern — Crochet Artist & Amigurumi Designer
Clara Fern is a crochet artist and amigurumi designer based in Austin, Texas. With 9 years of experience working with yarn and hook, she transformed a lifelong passion for handcraft into a creative mission: making amigurumi accessible, fun, and deeply rewarding for crafters of all levels.
Clara discovered amigurumi during a trip to Japan in 2017, where she fell in love with the art of bringing tiny characters to life through crochet. Back home in Texas, she spent years studying color theory, design principles, and advanced crochet techniques — developing her own signature style that blends kawaii aesthetics with original character design.
Through maclafersa.com, Clara shares everything she has learned — from choosing the right yarn and reading your first pattern, to designing fully original amigurumi characters from scratch. Her writing is known for being clear, detailed, and genuinely helpful, with no steps skipped and no secrets kept.
When she’s not crocheting, Clara enjoys watercolor painting, visiting local yarn shops, and drinking way too much coffee while sketching new character ideas.