
Free Amigurumi Elephant Pattern with Detailed Photo Tutorial
This guide helps you crochet a charming amigurumi elephant with a detailed photo tutorial. From tools and gauge to assembly and finishing, you’ll follow a steady path to a soft, cuddly toy.
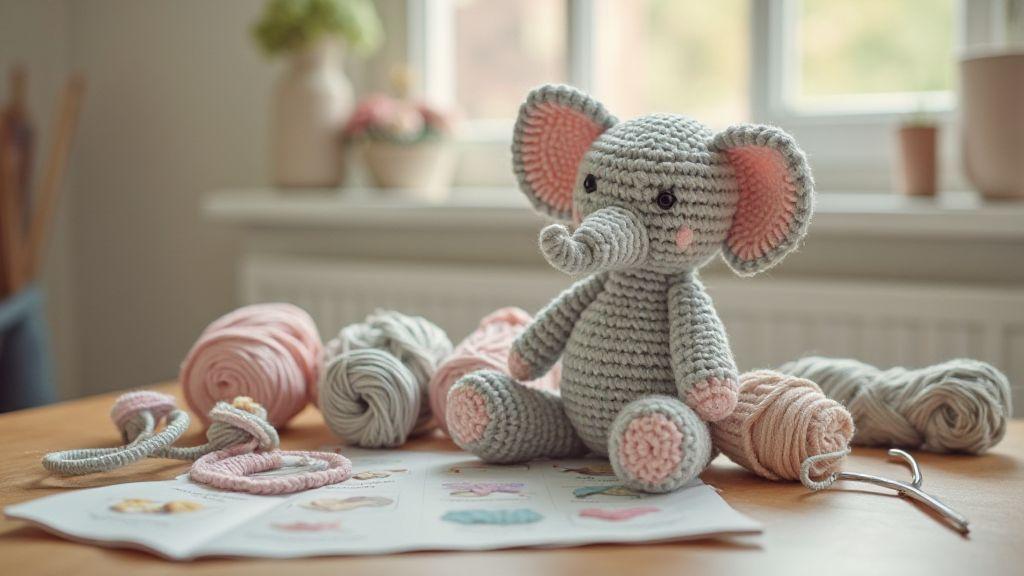
Tools and yarn you need
Starting is easy when you have the right setup. Choose a hook and yarn that feel comfortable and show your stitches clearly. If your stitches look loose, switch to a smaller hook; if they’re too tight, try a larger one. Keep scissors, a tapestry needle, stitch markers, and end-securement tools at hand to move smoothly through the pattern. With a familiar setup, you’ll complete the Free Amigurumi Elephant Pattern with Detailed Photo Tutorial with less frustration and more enjoyment.
Hook sizes and yarn weight you should pick
For beginners, a medium weight yarn (worsted or aran) paired with a G or H hook works well. Adjust if your gauge is tight or loose. A balanced stitch density yields a plush yet sturdy finish. The Free Amigurumi Elephant Pattern with Detailed Photo Tutorial shines when gauge is steady, so test with a swatch before diving into the body.
Safety eyes, stuffing, and sewing tools you need
Choose safety eyes appropriate for your elephant’s size, or opt for embroidered eyes for a softer look. Stuff evenly to maintain shape without stressing the stitches. Have a sturdy tapestry needle, matching thread, and pins ready to sew and align pieces for a neat toy.
Gauge and final size for your elephant
Gauge drives final size. Test with a swatch; if your gauge is too tight, your elephant will be smaller and stiffer. If too loose, it may become larger and floppy. Once your swatch matches the pattern gauge, your final size will be predictable. Keep track of gauge, hook size, and yarn weight so adjustments are easy later.
How gauge changes your elephant’s measurements
A tighter gauge makes the head feel smaller; looser gauge broadens the chest and ears. If gauge is off, you can add or remove rows or tweak stitch counts at key points to preserve proportion.
Measure your swatch to match the pattern
Measure stitches and rows per inch in both directions. If you’re off, swap hook sizes accordingly. Don’t skip row-count checks; they matter for overall height and proportions.
Printable amigurumi elephant pattern with step by step photos
The printable guide lays out each move with step-by-step photos. Begin with the head, then shape the trunk and ears, and attach them for that adorable look. Photos act as a coach, highlighting increases, decreases, and color changes. Use the tips beside the steps to check gauge, flatten seams, and stuff evenly for a steady pose.
Printable amigurumi elephant pattern with step by step photos
Printing provides a clean, numbered layout with photos. Annotate as you go, noting gauge checks and where to attach ears. The visuals help you stay on track and reproduce another elephant or variations later.
Stitches and skills to learn first
Build confidence with basics that show up in most patterns: neat tension, steady gauge, clean joins, and accurate counting. Practice counting, flipping between rounds, and placing stitches with precision. Small adjustments in tension or hook size can have big effects on the final piece.
Single crochet, increase, and decrease explained for you
Master the single crochet, then learn increases (two single crochets in one stitch) and decreases (such as sc2tog). Count stitches to keep rows even and edges straight. If you see lumps, re-count and redo that row.
How to do a magic ring and invisible join
A magic ring gives a tight center for in-the-round starts. An invisible join hides the joining point at the end of a round. With practice, your joins disappear into the fabric and your elephant looks flawless from every angle.
Beginner amigurumi elephant pattern free photo tutorial
A beginner-friendly pattern with clear photos guides you from a tight magic ring to a rounded body, ears, eyes, and trunk. Compare tension with the photos and adjust as needed for a cohesive look.
Follow the step-by-step photo tutorial
Each part comes together with visible cues. The photos align with the stitches you’re making, helping you read the pattern confidently. If a round looks off, pause, compare, and continue. The visuals keep you steady and bring your elephant to life.
How photos show each round and stitch for you
Photos break down rounds so you can count increases, decreases, and color changes precisely. Comparing work to the image helps you catch mistakes early and maintain a neat finish.
Free Amigurumi Elephant Pattern with Detailed Photo Tutorial
Grab the Free Amigurumi Elephant Pattern with Detailed Photo Tutorial and follow the pictures. The combination of pattern and photos keeps you on track and produces a sturdy, adorable elephant.
Amigurumi elephant pattern photo tutorial step by step
- Start with the head, shaping and closing rounds cleanly.
- Move to the body and trunk, ensuring even tension and balanced shape.
- Add ears and finalize with embroidery or eyes, ensuring a neat overall look.
Assembly, stuffing, and safety finishing
Plan the order: trunk to head, ears on, then join the body parts with neat seams. Pin pieces to prevent shifting, sew with small, tight stitches, and seal edges with a whip stitch. Test seams for strength. Stuff evenly for a rounded, cuddly silhouette, paying extra attention to the trunk and ears to avoid distortion. Keep stuffing firm but not bulky to maintain facial proportions and pose.
Where to place and sew the trunk and ears
Place the trunk centered on the head, pointing slightly downward. Attach ears just above the eye line and toward the back, with soft rounded shapes. Secure thoroughly to prevent flopping and check symmetry by pressing gently.
Stuffing tips for shape and child safety
Use firm but still cuddly stuffing. Avoid overstuffing delicate areas like the trunk and ears. Close openings securely and weave in ends completely to prevent unraveling. Use hypoallergenic stuffing if desired for safety.
Free crochet elephant amigurumi pattern photo instructions
The photo guide shows where to place trunk, ears, and limbs, with clear instructions for joining and finishing. It demonstrates proper stuffing and how to align parts for a balanced final piece.
Make it tiny or scale up easily
You can scale the elephant from a tiny keychain to a larger toy by adjusting yarn weight and hook size. Keep the stitch pattern and proportions, but add or reduce rounds to maintain balance. Note size in each version for easy replication.
How to make a tiny amigurumi elephant for keychains
Use a tight magic ring and small hook with fine yarn. Keep joints compact and secure, and add eyes with careful stitching or small beads. Finish with a secure tail and a sturdy keyring loop.
Adjust hook and yarn to scale up for a larger toy
Use thicker yarn and a larger hook, crochet looser for a plush feel, and increase rounds as needed. Add stuffing for volume, but avoid overstuffing the head. Ensure eyes and trunk remain proportionate.
Customize color, eyes, and accessories
Choose a base color and add personality with eye colors or tiny accessories. For eyes, you can use safety eyes or embroidered eyes. Attach accessories securely and consider safety for little ones. Keep a simple palette: two main colors and one accent to maintain cohesion.
Pick colors and trims that match your style
Color choices set the mood: cozy neutrals, modern combos, or playful contrasts. Use two main colors and one accent, and test trims on scrap fabric before adding them to the elephant. Ensure dyes and trims are child-safe.
Add clothes, bows, or embroidery safely
Keep garments lightly fitted and stitched in place. Embroidery adds charm and can be durable with a backstitch. Double-knot threads, and avoid bulky trims that can snag. Make sure all embellishments are secure for safe handling.
Easy amigurumi elephant pattern with photo guide
Follow the photo-led steps to maintain gauge and finish. The guide helps with ear alignment, color changes, and final shading. You can customize colors and expressions while keeping the pattern’s structure.
Downloading, printing, and using the PDF
Keep a PDF copy for crochet sessions. Use a high-contrast layout, and save a mobile-friendly version for on-the-go use. Print on sturdy paper if you plan to annotate. Make a living document by marking important steps and highlighting key terms.
How to save and print clear pattern photos
Download original image files, save in a labeled folder, and print using good quality settings. Organize photos in the usage order and laminate the most challenging diagrams if needed.
Tips to annotate or mark your printed pages while you crochet
Annotate with a soft pencil, circle key stitches, and use color codes for rows, changes, and tips. Keep notes concise and avoid clutter for quick reference during crochet sessions.
Amigurumi elephant pattern pdf with photos free
You’ll find a dedicated Amigurumi elephant pattern PDF with photos free, designed to guide beginners from chain to finishing stitch. The photos are arranged logically to help you stay on track, and the pattern emphasizes core amigurumi techniques.
Troubleshooting stitches and where to get help
If stitches don’t line up, check gauge and re-test. For loose stitches, slow your pace; for tight stitches, loosen your grip. Keep row counts and measurements in check. If needed, join crochet groups or online forums to share photos and receive tailored tips.
Fix common shaping and stitch count mistakes
Shaping mistakes come from missed increases or decreases. Recount and adjust as needed. For stitch counts, unravel to the last correct row and rework with careful placement. Use stitch markers to maintain accuracy on corners and curves.
Best online groups and video help for you
Online groups offer quick answers and photo-supported troubleshooting. Post your yarn, hook, and a photo of your issue. Look for focused videos on magic rings, increases, and shaping to reinforce learning.
Detailed photo tutorial for amigurumi elephant pattern
This photo tutorial shows adjustable loops, head shaping, ear and trunk alignment, and proper stuffing. It guides you through joining parts, securing limbs, and creating a simple facial expression. The visuals create a reliable, actionable workflow.
Conclusion
The Free Amigurumi Elephant Pattern with Detailed Photo Tutorial is designed to be approachable for beginners and satisfying for experienced crocheters. With clear guidance, detailed photos, and a scalable design, you can create a charming elephant that suits any project—from a tiny keychain to a cuddly display piece.

Clara Fern — Crochet Artist & Amigurumi Designer
Clara Fern is a crochet artist and amigurumi designer based in Austin, Texas. With 9 years of experience working with yarn and hook, she transformed a lifelong passion for handcraft into a creative mission: making amigurumi accessible, fun, and deeply rewarding for crafters of all levels.
Clara discovered amigurumi during a trip to Japan in 2017, where she fell in love with the art of bringing tiny characters to life through crochet. Back home in Texas, she spent years studying color theory, design principles, and advanced crochet techniques — developing her own signature style that blends kawaii aesthetics with original character design.
Through maclafersa.com, Clara shares everything she has learned — from choosing the right yarn and reading your first pattern, to designing fully original amigurumi characters from scratch. Her writing is known for being clear, detailed, and genuinely helpful, with no steps skipped and no secrets kept.
When she’s not crocheting, Clara enjoys watercolor painting, visiting local yarn shops, and drinking way too much coffee while sketching new character ideas.


