How to Stuff Amigurumi Without Lumps or Uneven Shapes
Stuffing may seem like one of the easiest steps when making amigurumi, but it can completely change the final appearance of your project. You can crochet perfectly even stitches, follow the pattern exactly, and carefully assemble every piece, yet your finished amigurumi may still look lumpy, crooked, flat, or uneven if the stuffing is not distributed correctly.
Learning how to stuff amigurumi properly is therefore just as important as learning increases, decreases, and other crochet techniques.
The goal is not simply to fill the empty space inside your crochet piece. Good stuffing should support the intended shape while keeping the surface smooth and the stitches from stretching excessively.
In this guide, you will learn how to stuff amigurumi without lumps, how much stuffing to use, which areas require special attention, and how to fix common stuffing mistakes.
Why Does Amigurumi Become Lumpy?
Lumps usually appear when stuffing is inserted in large pieces instead of being gradually distributed throughout the project.
Polyester fiberfill naturally compresses and clumps together. If you push a large handful directly into an amigurumi head, for example, it may create one dense area surrounded by softer areas.
Once the crochet fabric stretches around those differences, bumps become visible on the outside.
Uneven stuffing can also cause:
- Flat spots
- Crooked heads
- Uneven bodies
- Bulging sections
- Visible gaps between stitches
- Misshapen arms and legs
- Facial features that appear misaligned
Fortunately, most of these problems can be avoided with a few simple techniques.
1. Choose the Right Stuffing for Amigurumi
The most common stuffing material for amigurumi is polyester fiberfill.
It is lightweight, affordable, washable, and easy to shape. It also provides enough structure for most crochet toys without making them excessively heavy.
Look for fiberfill designed for stuffed toys, pillows, cushions, or craft projects.
Good-quality stuffing should feel soft and springy. When compressed, it should gradually return to its original volume.
Avoid stuffing that already contains hard clumps or heavily compressed sections because these can be difficult to distribute evenly inside small crochet pieces.
Some crocheters also use yarn scraps or fabric scraps as filling. While this can reduce waste, these materials are generally heavier and may create a less uniform shape.
For projects where appearance and smoothness are important, polyester fiberfill is usually easier to control.
2. Never Insert One Large Handful
This is probably the most important rule for smooth amigurumi stuffing.
Do not take a large handful of fiberfill and push it into the piece all at once.
Instead, separate the stuffing into small portions.
Gently fluff each portion with your fingers before inserting it.
Add one small amount at a time and distribute it around the interior before adding more.
Think of stuffing as gradually building the shape from the inside.
Small portions allow you to control exactly where the filling goes and significantly reduce the risk of hard lumps.
3. Start Stuffing Before the Opening Becomes Too Small
Many amigurumi pieces begin wide and gradually decrease toward the end.
Waiting until the final few stitches to begin stuffing can make the process unnecessarily difficult.
Once the opening becomes very small, reaching deeper areas becomes challenging.
You may end up pushing stuffing into the top while leaving empty spaces at the bottom.
Check your pattern carefully. Many patterns indicate when you should begin stuffing.
If no instructions are provided, start when the opening is still large enough to comfortably reach inside and distribute the filling.
Continue adding small amounts as you complete the final decrease rounds.
4. Stuff the Furthest Areas First
When stuffing a long or narrow piece, always begin with the area furthest from the opening.
For example, when stuffing a leg, fill the foot first.
When stuffing an arm, begin at the hand.
For a long body worked from the bottom upward, make sure the bottom is properly filled before concentrating on the upper section.
If you fill the area closest to the opening first, it becomes harder to push stuffing into deeper sections later.
This technique is especially important for narrow limbs.
5. Use a Stuffing Tool for Small Areas
Your fingers work perfectly for large amigurumi pieces, but smaller areas often require a tool.
You can use:
- A stuffing stick
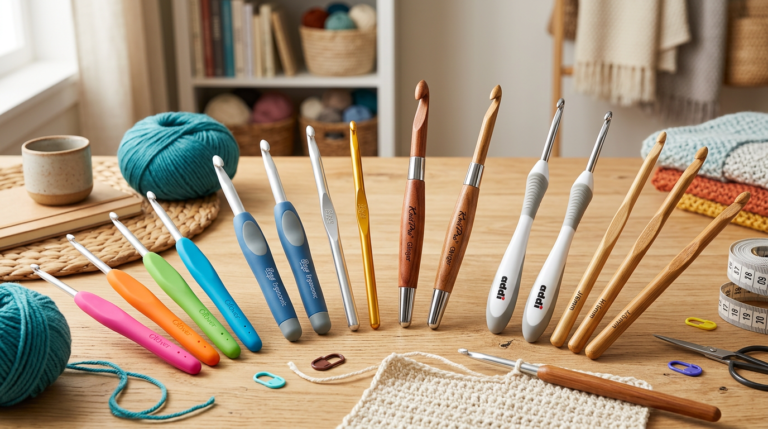
- The blunt end of a crochet hook
- A wooden chopstick
- A pencil with a blunt end
- Tweezers designed for craft stuffing
Avoid sharp tools that could damage the yarn or push through the crochet fabric.
Use your tool to gently guide small pieces of fiberfill into corners, feet, hands, noses, tails, and other narrow areas.
Do not aggressively push the stuffing. Instead, use small movements to distribute it gradually.
6. Rotate the Piece While Stuffing
One of the easiest ways to prevent uneven shapes is to continuously rotate your amigurumi while filling it.
Do not look at the project from only one angle.
Add a little stuffing, rotate the piece, examine it, and then continue.
Check the front, back, sides, top, and bottom.
A head that appears perfectly round from the front might have a flat area when viewed from the side.
Regularly changing your viewing angle allows you to catch these problems before the opening is closed.
7. Pay Special Attention to the Edges
When stuffing round pieces, crocheters sometimes concentrate all the filling in the center.
This can create a dense middle while leaving softer areas around the edges.
Instead, use your fingers or stuffing tool to gently push fiberfill toward the outer walls of the crochet fabric.
Imagine creating an even layer of stuffing around the entire interior.
Then gradually fill the center.
This technique can be particularly useful when shaping large heads and rounded bodies.
8. How Firmly Should You Stuff Amigurumi?
There is no universal amount of stuffing for every amigurumi project.
Some designs are intentionally soft and squishy, while others need a firm structure.
As a general rule, the piece should feel firm enough to maintain its intended shape without becoming extremely hard.
Gently squeeze the piece.
If it immediately collapses and remains flat, you may need more stuffing.
If the stitches are dramatically stretched and fiberfill is visible through the gaps, you have probably added too much.
The ideal result is somewhere between these extremes.
9. Avoid Overstuffing
Overstuffing is one of the most common amigurumi mistakes.
It is tempting to continue adding filling because a firmer toy may initially appear more professional.
However, excessive stuffing can distort the crochet.
It can stretch stitches apart, create visible gaps, change proportions, and make rounded pieces appear elongated.
Overstuffing can also put unnecessary pressure on seams and attached pieces.
If you notice your stitches beginning to separate significantly, stop adding stuffing.
Try gently redistributing what is already inside before deciding whether more is necessary.
10. Avoid Understuffing
Understuffing creates a different set of problems.
An underfilled amigurumi may look wrinkled, flat, or deflated.
Heads can lose their round shape, bodies may collapse, and limbs may bend in places where they should remain structured.
The key is balance.
Add enough filling to support the crochet fabric while preserving the shape created by the pattern.
Remember that stuffing can settle slightly over time, especially in toys that are frequently handled.
11. How to Stuff a Round Amigurumi Head
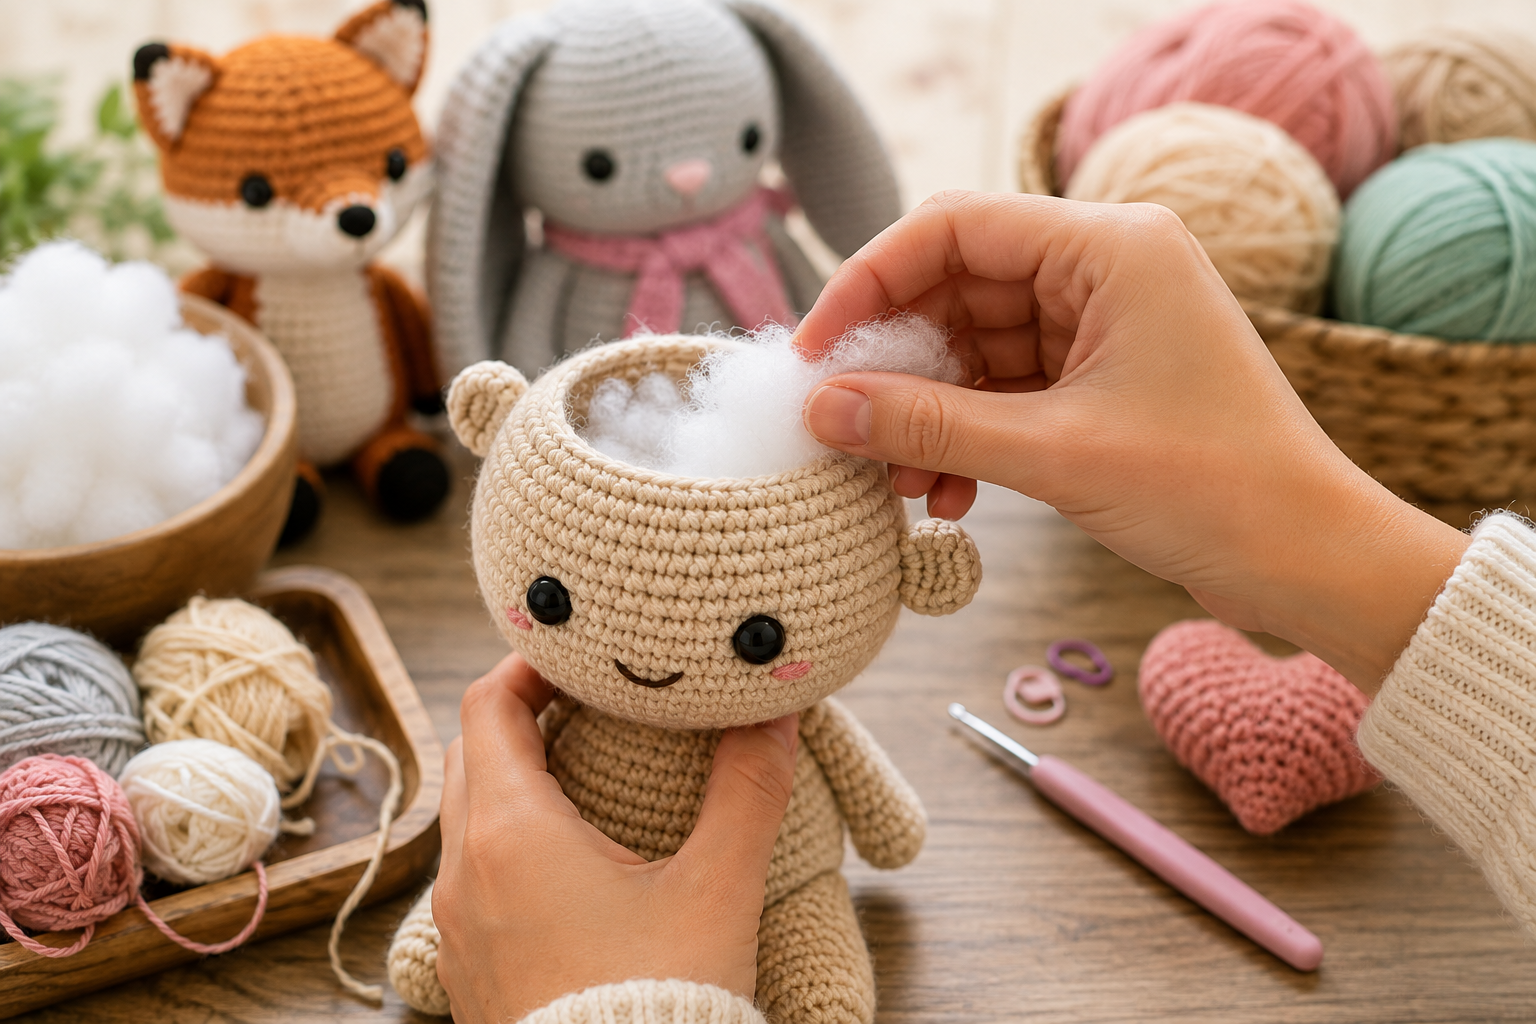
Heads are often the most noticeable part of an amigurumi, so careful stuffing is particularly important.
Begin by adding small portions of fiberfill to the bottom and sides.
Gradually work your way toward the center.
Rotate the head constantly.
Use your fingers to gently press and redistribute the stuffing through the crochet fabric.
If one side looks flatter, move some stuffing toward that area.
Before closing the head completely, examine the profile as well as the front view.
Make sure the forehead, cheeks, sides, and back of the head have smooth curves.
12. Be Careful Around Safety Eyes
Safety eyes create another challenge.
When stuffing behind the eyes, excessive pressure can push them outward or create strange bulges around the face.
Place small amounts of stuffing behind and around the eye area.
Distribute the filling evenly rather than creating one dense layer directly behind the eyes.
After adding stuffing, check the face from the front.
Sometimes eyes that appeared perfectly aligned before stuffing can look different after the head becomes firm.
Adjust the surrounding stuffing before closing the piece.
13. How to Stuff Arms and Legs
Amigurumi limbs usually require less stuffing than heads and bodies.
If arms are stuffed too firmly, they may stick outward instead of hanging naturally.
Many patterns intentionally recommend lightly stuffing the upper part of an arm or leaving the final rounds unstuffed.
For legs that support a standing amigurumi, firmer stuffing may be necessary.
Always follow the pattern when specific instructions are provided.
For narrow limbs, use tiny portions of fiberfill and a blunt stuffing tool.
14. Shape the Amigurumi With Your Hands
Stuffing does not need to remain exactly where you initially place it.
After filling a section, use your hands to gently shape the piece.
Roll a round head between your palms.
Massage uneven areas with your fingers.
Gently squeeze bulging sections while encouraging stuffing toward flatter areas.
Crochet fabric has some flexibility, and fiberfill can usually be redistributed before the piece is completely closed.
This manual shaping step can dramatically improve the final appearance.
15. Check Symmetry Before Closing
Before finishing the final decrease and fastening off, stop and inspect your project.
Ask yourself:
Does the head look round?
Are both sides equally full?
Is there a flat area?
Is one side bulging?
Does the body lean?
Are the facial features still positioned correctly?
This is your best opportunity to make corrections.
Once the opening has been sewn shut, adjusting the stuffing becomes more difficult.
How to Fix Lumpy Amigurumi
If you notice lumps before closing the piece, remove some stuffing and start redistributing it.
Pull out any dense clumps and separate them into smaller pieces.
Then insert them gradually.
If the amigurumi has already been closed, try gently massaging the piece.
Use your thumbs to move stuffing away from bulging areas toward flatter sections.
For severe problems, reopening the final seam may be worth the effort.
Remove some filling, reshape the piece, and close it again.
Why Does Stuffing Show Through the Stitches?
Visible stuffing usually indicates one of three problems:
The crochet hook is too large, the tension is too loose, or the piece is overstuffed.
Amigurumi fabric should generally be dense enough to contain fiberfill without large visible gaps.
If you regularly notice stuffing between stitches, try using a slightly smaller crochet hook on your next project.
Maintaining consistent tension will also help.
Should You Stuff Amigurumi as You Crochet?
In many cases, yes.
Gradual stuffing gives you better control over the shape.
This is particularly useful for long bodies, narrow limbs, tails, and pieces with multiple sections.
However, do not fill areas too early if you still need flexibility to crochet comfortably.
Stuffing directly behind your working stitches can make inserting the hook more difficult.
Leave enough empty space near the working round to crochet comfortably.
Common Amigurumi Stuffing Mistakes
If you want smoother and more professional-looking amigurumi, avoid these common mistakes:
- Inserting large clumps of stuffing
- Waiting until the opening is extremely small
- Overstuffing the piece
- Leaving empty spaces near edges
- Filling narrow limbs too firmly
- Ignoring flat spots
- Looking at the project from only one angle
- Using sharp objects as stuffing tools
- Closing the piece before checking symmetry
Taking an extra few minutes during the stuffing stage can prevent hours of frustration later.
Final Tips for Perfect Amigurumi Stuffing
The secret to smooth stuffing is patience.
Use small amounts of fiberfill, distribute each portion carefully, and regularly check the shape from different angles.
Remember that the goal is not to fit as much stuffing as possible inside the piece.
Your goal is to support the crochet fabric and create the shape intended by the pattern.
When working on heads and bodies, gradually build firmness.
For arms, ears, tails, and other smaller pieces, consider whether they actually need to be firmly stuffed. Sometimes softer stuffing produces a much more natural result.
Most importantly, shape the project throughout the process instead of waiting until the end.
Conclusion
Learning how to stuff amigurumi without lumps or uneven shapes is a simple skill that can dramatically improve your finished crochet projects.
The most important technique is adding fiberfill in small portions rather than large handfuls. Combine this with gradual stuffing, regular rotation, careful shaping, and proper firmness to create smoother results.
Avoid both overstuffing and understuffing, and always inspect your piece before closing the final opening.
With practice, you will begin to recognize exactly how much stuffing different shapes require.
Eventually, stuffing becomes more than simply filling your amigurumi—it becomes part of the sculpting process.
And when the stuffing supports the crochet correctly, your finished amigurumi will look smoother, more symmetrical, and much more polished.
Clara Fern — Crochet Artist & Amigurumi Designer
Clara Fern is a crochet artist and amigurumi designer based in Austin, Texas. With 9 years of experience working with yarn and hook, she transformed a lifelong passion for handcraft into a creative mission: making amigurumi accessible, fun, and deeply rewarding for crafters of all levels.
Clara discovered amigurumi during a trip to Japan in 2017, where she fell in love with the art of bringing tiny characters to life through crochet. Back home in Texas, she spent years studying color theory, design principles, and advanced crochet techniques — developing her own signature style that blends kawaii aesthetics with original character design.
Through maclafersa.com, Clara shares everything she has learned — from choosing the right yarn and reading your first pattern, to designing fully original amigurumi characters from scratch. Her writing is known for being clear, detailed, and genuinely helpful, with no steps skipped and no secrets kept.
When she’s not crocheting, Clara enjoys watercolor painting, visiting local yarn shops, and drinking way too much coffee while sketching new character ideas.