How to Convert a Crochet Pattern Into an Amigurumi Design
If you already know how to follow traditional crochet patterns, designing amigurumi can feel like a natural next step. However, converting an existing crochet concept into a three-dimensional character requires a different way of thinking.
Traditional crochet patterns often focus on flat or relatively simple structures such as blankets, scarves, granny squares, clothing, and decorative motifs. Amigurumi, on the other hand, relies heavily on three-dimensional shaping. Every increase, decrease, stitch count, and round influences the final shape of the character.
The good news is that you don’t need to start completely from scratch.
Many crochet patterns, motifs, and construction techniques can serve as inspiration or building blocks for amigurumi designs. The key is understanding how to translate flat crochet structures into three-dimensional forms while maintaining the proportions, characteristics, and visual identity of the object or character you want to create.
In this guide, we’ll explore how to convert a crochet pattern into an amigurumi design step by step, from analyzing the original pattern to shaping, stuffing, assembling, and refining your finished character.
Understanding the Difference Between Traditional Crochet and Amigurumi
Before converting a pattern, it’s important to understand what makes amigurumi construction different.
Many traditional crochet projects are designed primarily in two dimensions. You might crochet rows back and forth to create a rectangle, work a flat circle, or join motifs together to form a larger piece.
Amigurumi is generally constructed as a series of three-dimensional shapes.
A character might consist of:
- a sphere or oval for the head
- a cylinder or tapered shape for the body
- narrow tubes for the arms and legs
- cones for ears or horns
- flat or slightly curved pieces for wings
- small spheres for cheeks, paws, or decorative details
Instead of thinking about the original crochet pattern as one complete structure, begin by identifying the basic shapes hidden inside it.
This is one of the most useful skills you can develop as an amigurumi designer.
1. Analyze the Original Crochet Pattern
Start by studying the pattern you want to adapt.
Ask yourself what elements are essential to its appearance.
If you’re adapting a flat crocheted animal motif, for example, the original pattern might contain recognizable ears, colors, facial details, or decorative elements that make the animal immediately identifiable.
You don’t necessarily need to reproduce every stitch exactly.
Instead, identify the visual characteristics that should remain in the amigurumi version.
Consider:
- overall silhouette
- proportions
- color placement
- distinctive features
- textures
- decorative elements
- facial characteristics
The goal isn’t to force a flat pattern into a three-dimensional structure stitch by stitch. It’s to translate its visual concept into a form that works naturally as amigurumi.
2. Break the Design Into Basic Shapes
Once you’ve identified the important features, divide the design into simple geometric forms.
Imagine you’re converting a crocheted cat motif into an amigurumi cat.
You might simplify it into:
Head: sphere
Body: elongated oval
Ears: triangles or cones
Legs: cylinders
Tail: narrow curved tube
This process makes complex characters much easier to design.
Even highly detailed amigurumi usually begin with combinations of relatively simple shapes.
Instead of asking, “How do I crochet this entire character?” ask smaller questions:
“How do I create the head?”
“How wide should the body be?”
“What shape should the ears have?”
“How long should the legs be?”
Breaking the design into components prevents the project from becoming overwhelming.
3. Start With a Magic Ring for Rounded Shapes
Most three-dimensional amigurumi shapes begin with a magic ring.
A typical sphere might start with six single crochet stitches worked into the ring.
From there, increases gradually expand the circumference.
For example:
Round 1: 6 single crochet into magic ring.
Round 2: increase in every stitch.
Round 3: single crochet, increase; repeat around.
Round 4: two single crochet, increase; repeat around.
This creates a gradually expanding circle.
After reaching the desired width, several rounds can be worked without increases to create height.
Then decreases reverse the process and close the shape.
Understanding this basic increase → straight rounds → decrease structure allows you to create an enormous variety of amigurumi forms.
4. Translate Flat Circles Into Spheres
Flat crochet patterns frequently contain circles, making them particularly easy to adapt.
A flat circle continues increasing regularly so that the fabric remains flat.
An amigurumi sphere begins similarly but eventually stops increasing.
Once increases stop, the fabric naturally begins forming walls rather than continuing outward.
This is the fundamental difference between a flat circle and a three-dimensional sphere.
To transform a circular motif into a head, for example, use the motif’s initial increase structure until you reach the desired circumference. Then crochet several rounds without increases before beginning gradual decreases.
Stuff the piece before closing it completely.
Suddenly, what started as a flat circle becomes a three-dimensional head.
5. Convert Rectangles Into Cylindrical Shapes
Rectangles are another common structure in traditional crochet.
When converting them into amigurumi, think about how they could become cylinders or tubes.
Instead of crocheting rows back and forth, you can often work continuously in rounds.
A simple tube can become:
- an arm
- a leg
- a neck
- a tail
- part of a body
- a horn
If the original pattern contains a rectangular element, determine whether it would look more natural as a cylindrical form in three dimensions.
You can adjust the width by increasing or decreasing stitches throughout the rounds.
6. Use Increases and Decreases as Sculpting Tools
In traditional crochet, increases and decreases often exist primarily to change the width of a piece.
In amigurumi, they function almost like sculpting tools.
Their placement determines the character’s shape.
Adding increases creates volume.
Adding decreases removes volume.
But they don’t always need to be evenly distributed.
If you place increases primarily toward the front of a head, for example, you can begin creating additional volume around the face.
Strategically placed decreases can narrow a neck, define a waist, or taper a limb.
Once you understand this principle, you can move beyond simple spheres and cylinders and begin creating more organic forms.
7. Consider the Effect of Stuffing
One major difference between traditional crochet and amigurumi is stuffing.
Your crocheted fabric doesn’t determine the final shape alone. The amount and placement of stuffing also influence the finished form.
A lightly stuffed piece may appear soft and flattened.
A firmly stuffed piece will look rounder and more structured.
However, excessive stuffing can stretch the stitches, reveal the filling through gaps, and distort carefully planned proportions.
Add stuffing gradually.
For larger pieces, distribute small amounts throughout the shape rather than inserting one large clump.
Use your fingers or a stuffing tool to push filling into smaller areas such as the nose, cheeks, paws, or tips of limbs.
Think of stuffing as part of the sculpting process rather than simply something added at the end.
8. Adjust the Yarn and Hook Size
A crochet pattern designed for another purpose may recommend a hook size that creates a relatively loose fabric.
That usually isn’t ideal for amigurumi.
Because the piece will be stuffed, the stitches should create a dense fabric that prevents filling from showing through.
Amigurumi makers commonly use a smaller hook than the yarn label recommends.
However, don’t automatically reduce the hook dramatically.
Make a small test piece first.
The ideal fabric should be tight enough to contain stuffing while remaining comfortable to crochet.
Your yarn choice also affects the final appearance.
Cotton provides excellent stitch definition and structure, while acrylic can create a softer and sometimes slightly fluffier character.
9. Recalculate Proportions
A design that looks balanced in two dimensions may look completely different once converted into three dimensions.
This is why proportions often need adjustment.
For example, a flat animal motif might have a relatively small head compared with its body. When converted directly into amigurumi, the same proportions could produce a character that looks more realistic than cute.
If you want a classic amigurumi appearance, you may intentionally enlarge the head and shorten the body.
Likewise, hands and feet may need to be exaggerated slightly so they remain visually noticeable.
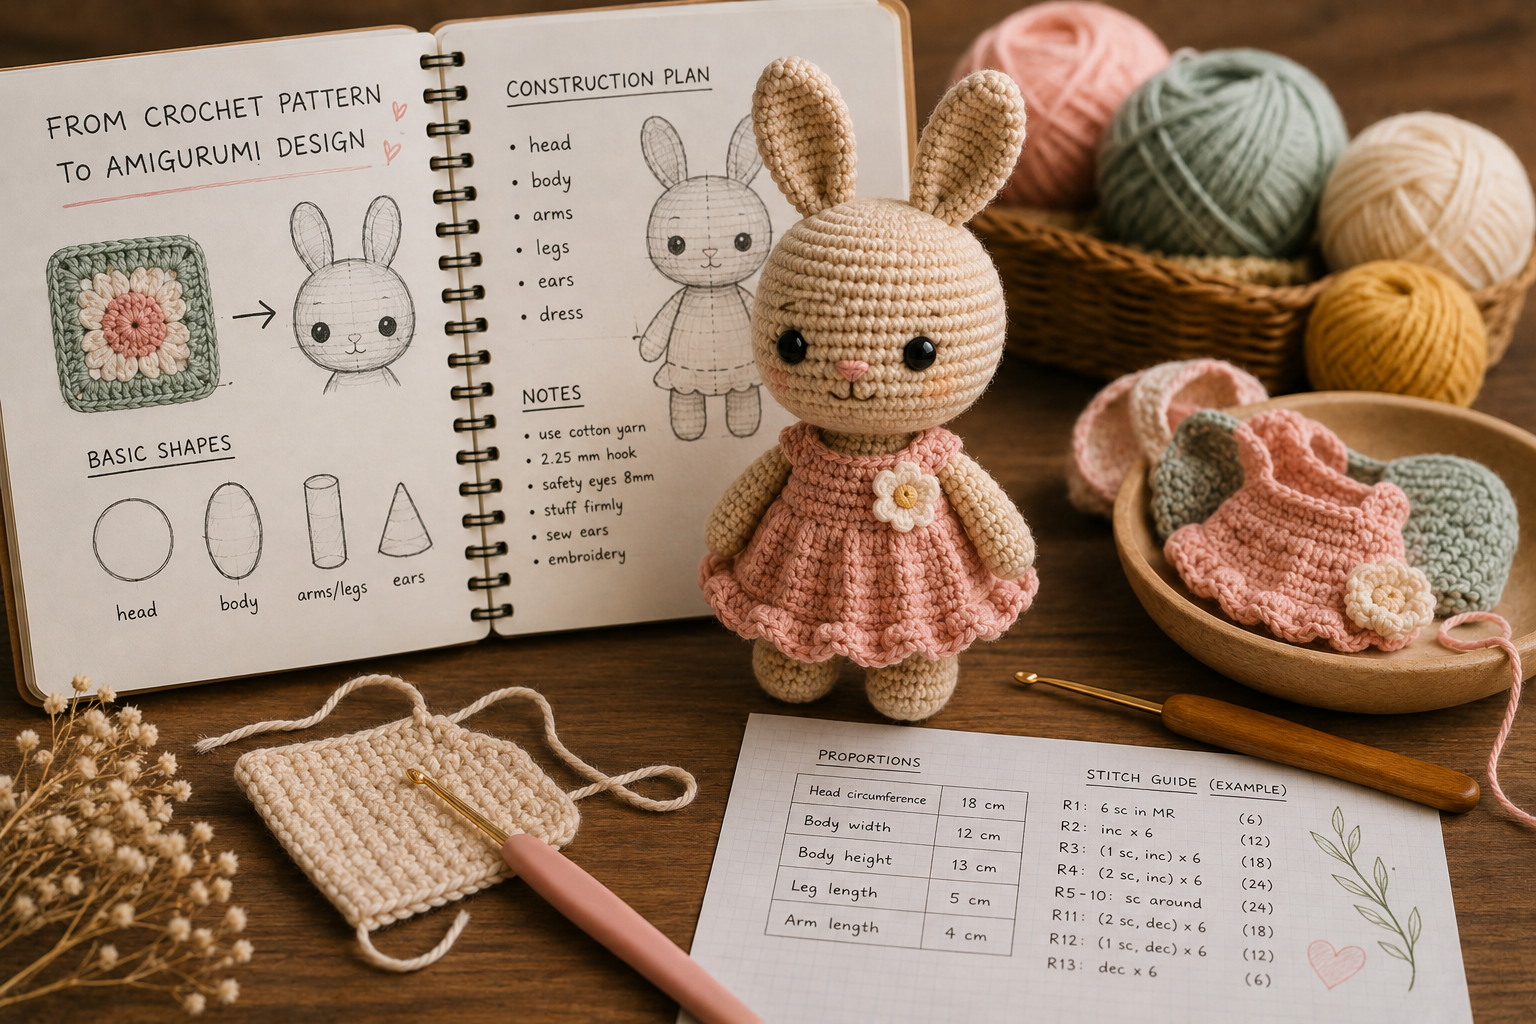
Before crocheting every component, sketch the character using simple shapes.
You don’t need advanced drawing skills. Circles, ovals, rectangles, and lines are enough.
This gives you an opportunity to experiment with proportions before investing time in crochet.
10. Preserve Recognizable Details
When adapting an existing design, ask yourself which details make it recognizable.
Imagine you’re converting a flat fox pattern.
The most important characteristics might include:
- pointed ears
- orange coloring
- white muzzle
- dark paws
- bushy tail
- distinctive facial markings
Preserving these elements may be more important than copying the original stitch structure.
This principle becomes especially useful when simplifying complex patterns.
A successful amigurumi adaptation doesn’t need to reproduce every detail. It needs to preserve the details that communicate the character’s identity.
11. Plan the Assembly Before Crocheting
Before making every component, decide how they will connect.
Will the arms be sewn onto the body?
Will the legs be crocheted directly into the body?
Will the head and body be created as one continuous piece?
Will the ears be sewn on later?
Planning these decisions early can significantly improve the final result.
For beginners, separate pieces are often easier because each component can be adjusted independently.
More experienced crocheters may prefer seamless or low-sew construction, where multiple components are incorporated directly into the working rounds.
Neither approach is inherently better.
Choose the construction method that best suits the design.
12. Prototype Before Creating the Final Version
Your first attempt doesn’t need to be perfect.
In fact, when converting a crochet pattern into an original amigurumi structure, expecting several adjustments is realistic.
Create a prototype using inexpensive yarn.
As you work, take notes.
Record:
- stitch counts
- number of rounds
- increase placement
- decrease placement
- yarn type
- hook size
- measurements
- changes you want to make
Once the prototype is finished, evaluate it from multiple angles.
Maybe the head needs to be larger.
Perhaps the legs are too long.
Maybe the ears should sit farther apart.
These observations become the instructions for your improved second version.
13. Write the Amigurumi Pattern as You Work
If your conversion is successful, you’ll probably want to recreate it later.
Don’t rely on memory.
Write every round down as you crochet.
Use standard crochet abbreviations and clearly record repeated sequences.
For example:
R1: 6 sc in MR (6)
R2: inc × 6 (12)
R3: (1 sc, inc) × 6 (18)
R4: (2 sc, inc) × 6 (24)
Recording the total stitch count at the end of each round makes mistakes much easier to identify.
Also document where important features should be positioned.
For example:
“Place safety eyes between rounds 10 and 11, approximately 7 stitches apart.”
These details transform your experiment into a repeatable pattern.
14. Refine the Design With a Second Version
Professional amigurumi designs are rarely perfect on the first attempt.
After completing your prototype, identify the areas that need improvement.
You might decide to:
- shorten the arms
- widen the body
- change eye placement
- reshape the muzzle
- enlarge the ears
- reposition the legs
- change the color transitions
- adjust stuffing
- reduce visible seams
Then crochet another version.
Comparing the two versions side by side can teach you an enormous amount about how small stitch-count changes influence three-dimensional shapes.
This iterative process is one of the best ways to develop your own amigurumi design skills.
15. Respect Pattern Copyright When Adapting Designs
There’s an important distinction between learning from a crochet pattern and reproducing another designer’s work.
If you’re adapting someone else’s copyrighted pattern, especially for publication or commercial use, don’t simply rewrite or slightly modify their instructions and present the result as an original pattern.
Instead, use your crochet knowledge to develop your own construction, proportions, stitch counts, and creative details.
For personal practice, studying different construction techniques can be extremely educational.
If you intend to publish or sell a pattern, creating a genuinely original design is the safer and more respectful approach.
Final Thoughts
Converting a crochet pattern into an amigurumi design is less about translating stitches literally and more about translating shapes, proportions, and visual ideas.
Start by analyzing the original concept and identifying its most important characteristics. Then break the design into basic three-dimensional forms such as spheres, cylinders, ovals, cones, and flat accessories.
Use increases and decreases to sculpt those forms, adjust proportions for the amigurumi style, and remember that stuffing will influence the final shape just as much as the crochet itself.
Most importantly, allow yourself to experiment.
Your first prototype may have a head that’s too small, legs that are too long, or ears positioned at the wrong angle. Those aren’t wasted attempts. They’re valuable information that helps you understand how crochet behaves in three dimensions.
With practice, you’ll gradually stop seeing crochet patterns simply as rows and stitch counts. Instead, you’ll begin seeing the shapes behind those instructions — and once you can visualize those shapes, transforming ideas into original amigurumi characters becomes much easier.
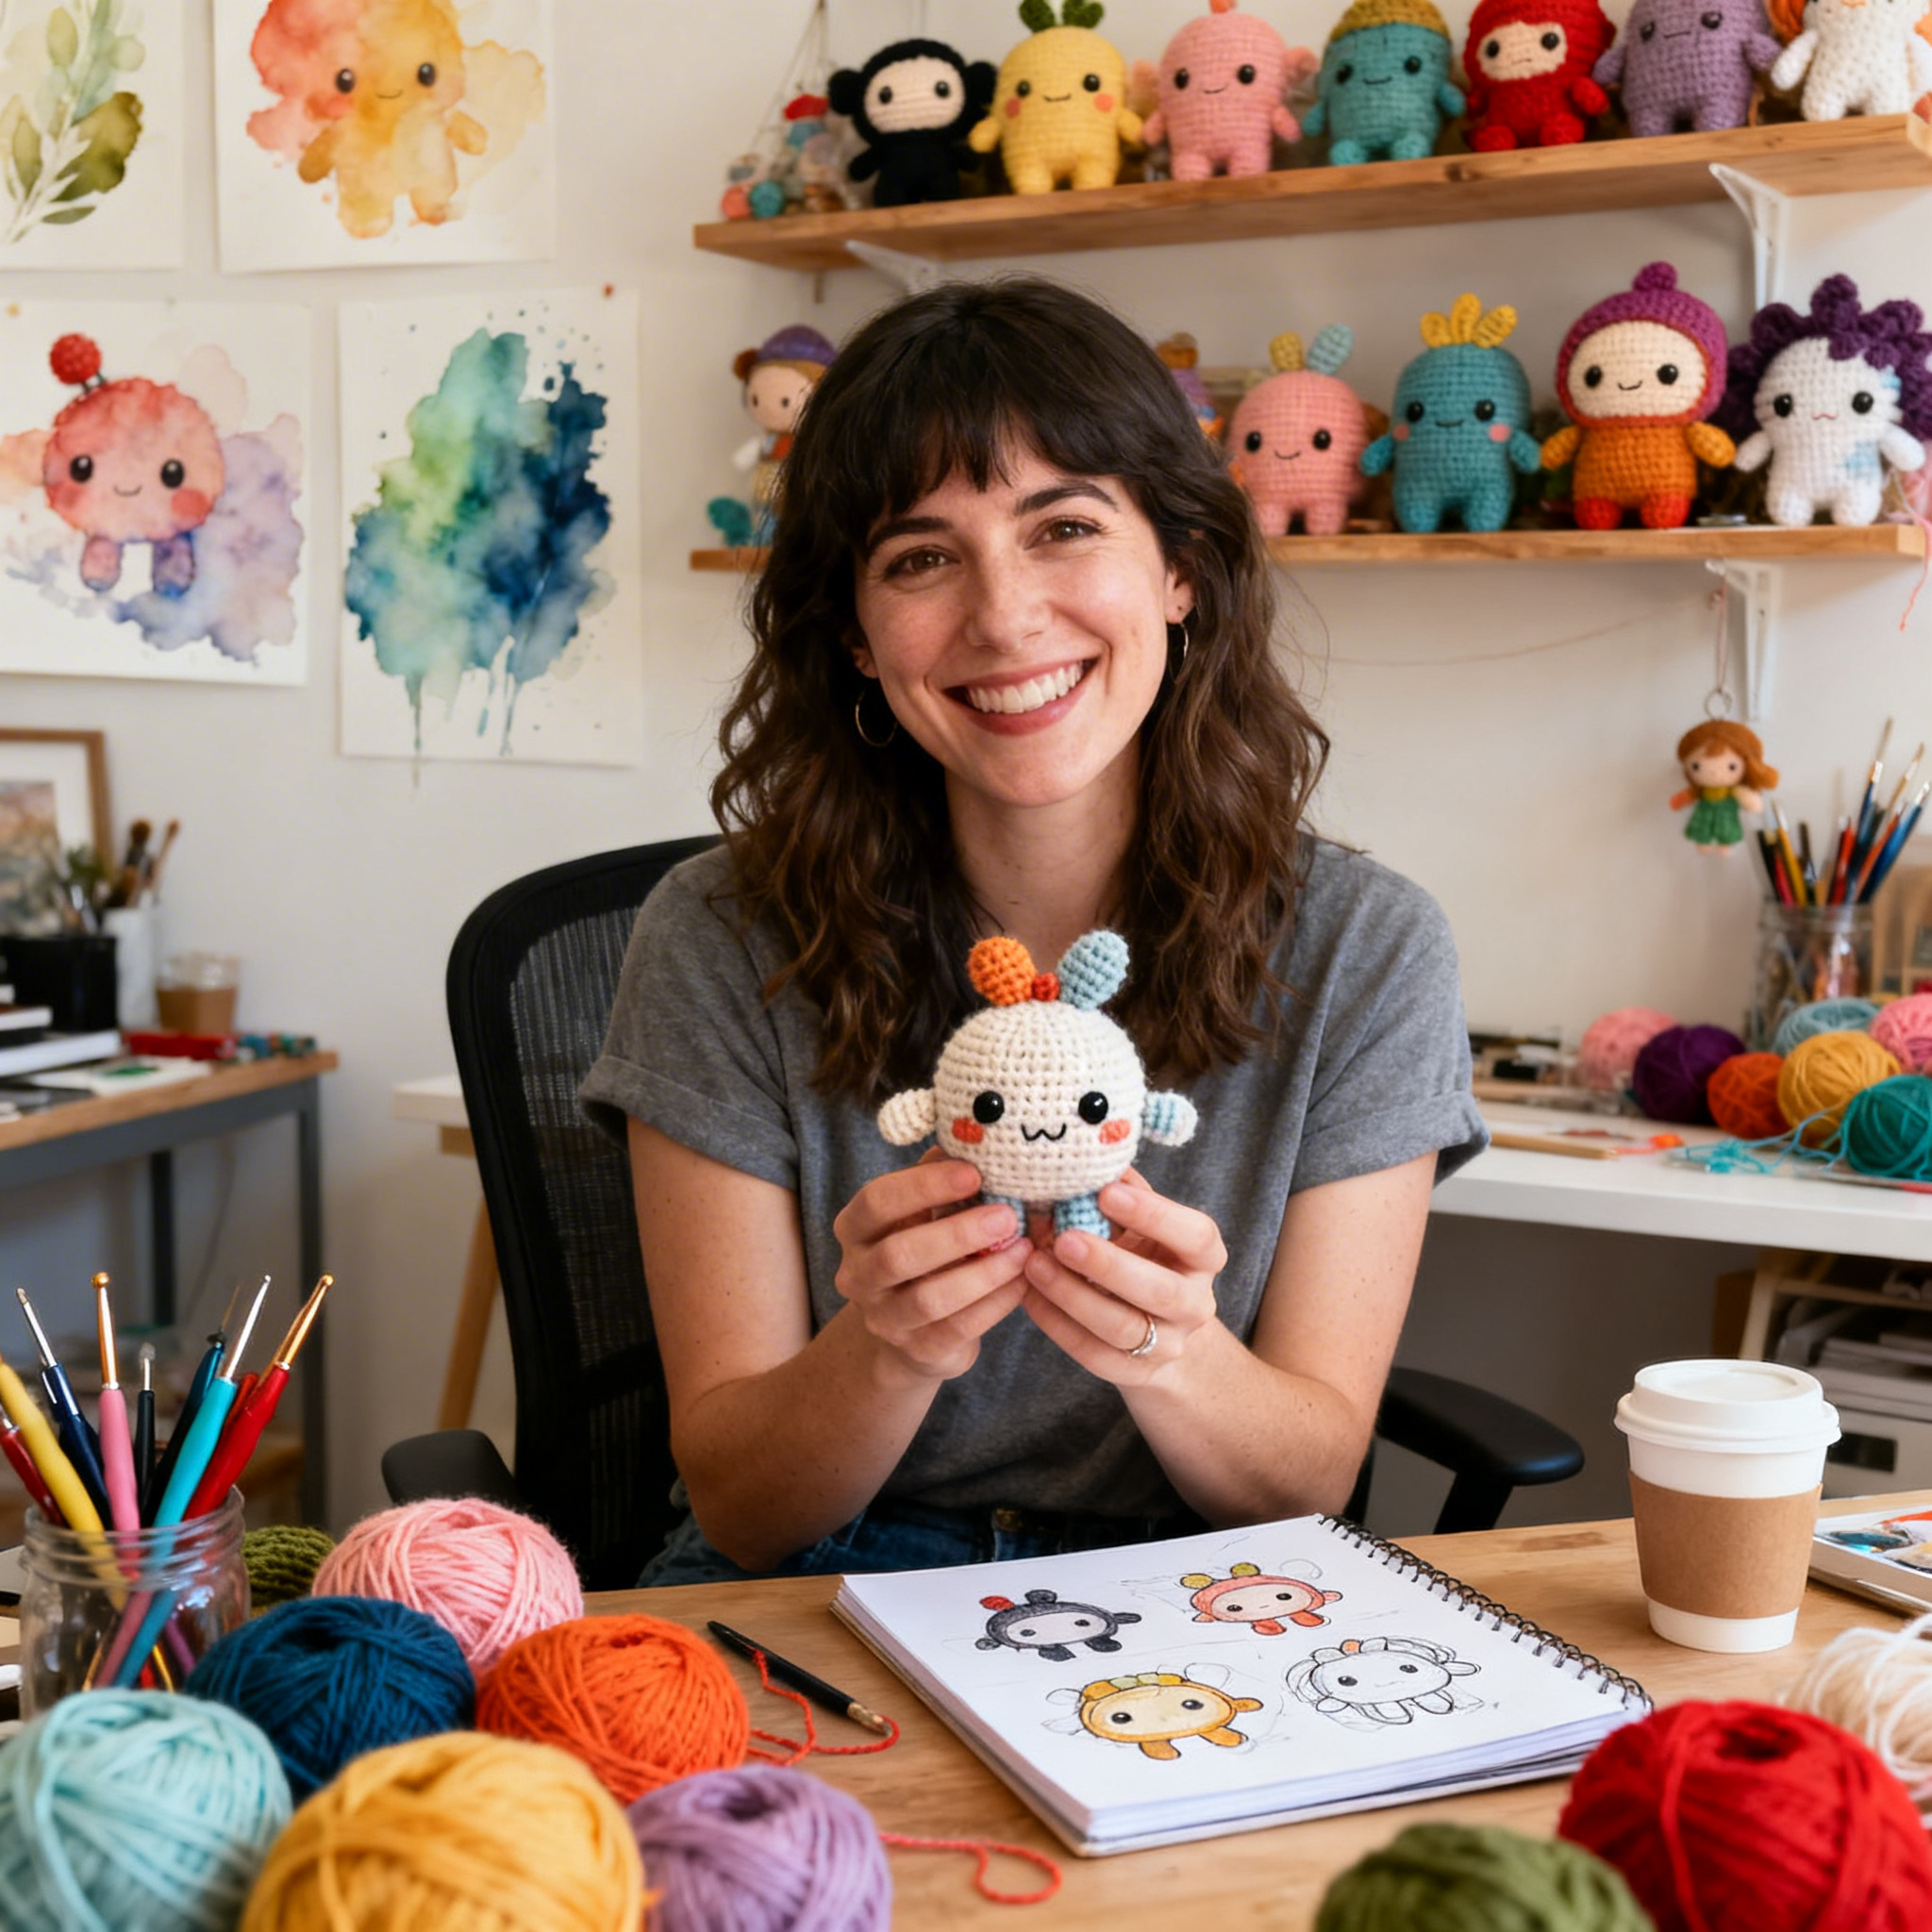
Clara Fern — Crochet Artist & Amigurumi Designer
Clara Fern is a crochet artist and amigurumi designer based in Austin, Texas. With 9 years of experience working with yarn and hook, she transformed a lifelong passion for handcraft into a creative mission: making amigurumi accessible, fun, and deeply rewarding for crafters of all levels.
Clara discovered amigurumi during a trip to Japan in 2017, where she fell in love with the art of bringing tiny characters to life through crochet. Back home in Texas, she spent years studying color theory, design principles, and advanced crochet techniques — developing her own signature style that blends kawaii aesthetics with original character design.
Through maclafersa.com, Clara shares everything she has learned — from choosing the right yarn and reading your first pattern, to designing fully original amigurumi characters from scratch. Her writing is known for being clear, detailed, and genuinely helpful, with no steps skipped and no secrets kept.
When she’s not crocheting, Clara enjoys watercolor painting, visiting local yarn shops, and drinking way too much coffee while sketching new character ideas.